This is a follow along from Bryan Ly’s Okta Course on Udemy.
Objectives
Create a Salesforce Developer Account Connect Salesforce to Okta using SAML 2.0 Test SSO from Okta to Salesforce
Create a Salesforce Developer Account
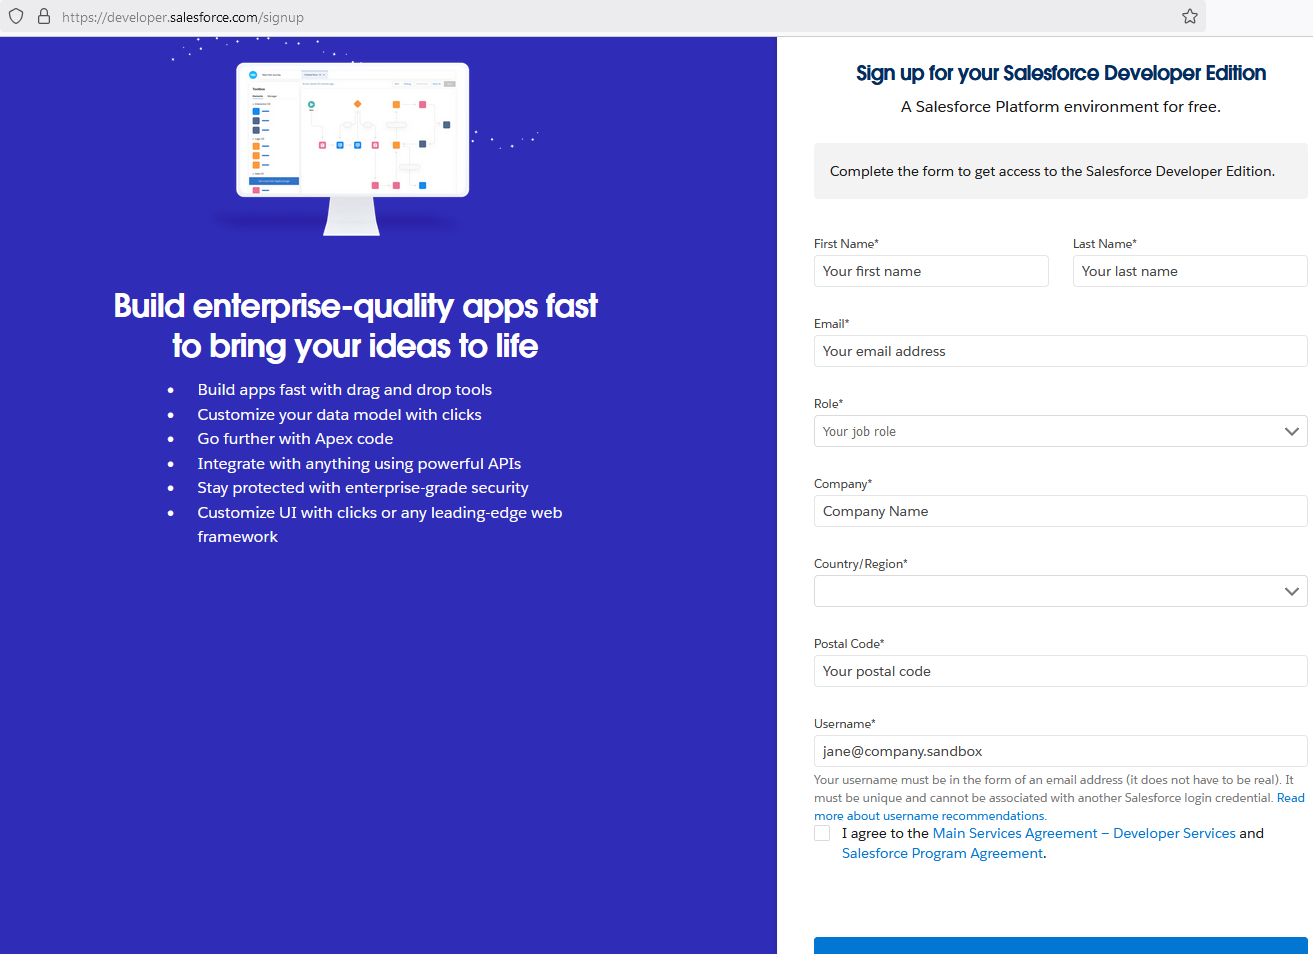
https://developer.salesforce.com/signup
Enter your credentials to gain access to Salesforce:
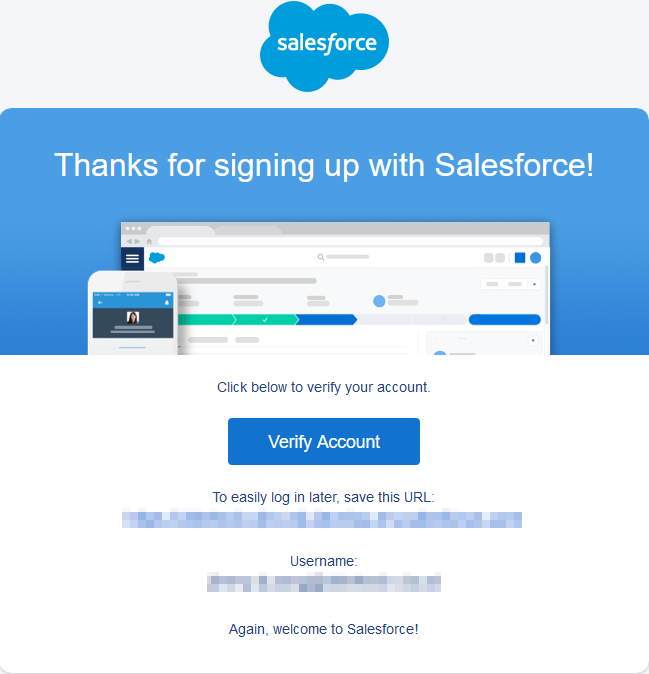
After submitting the form, go to the email used and look for the account verification:
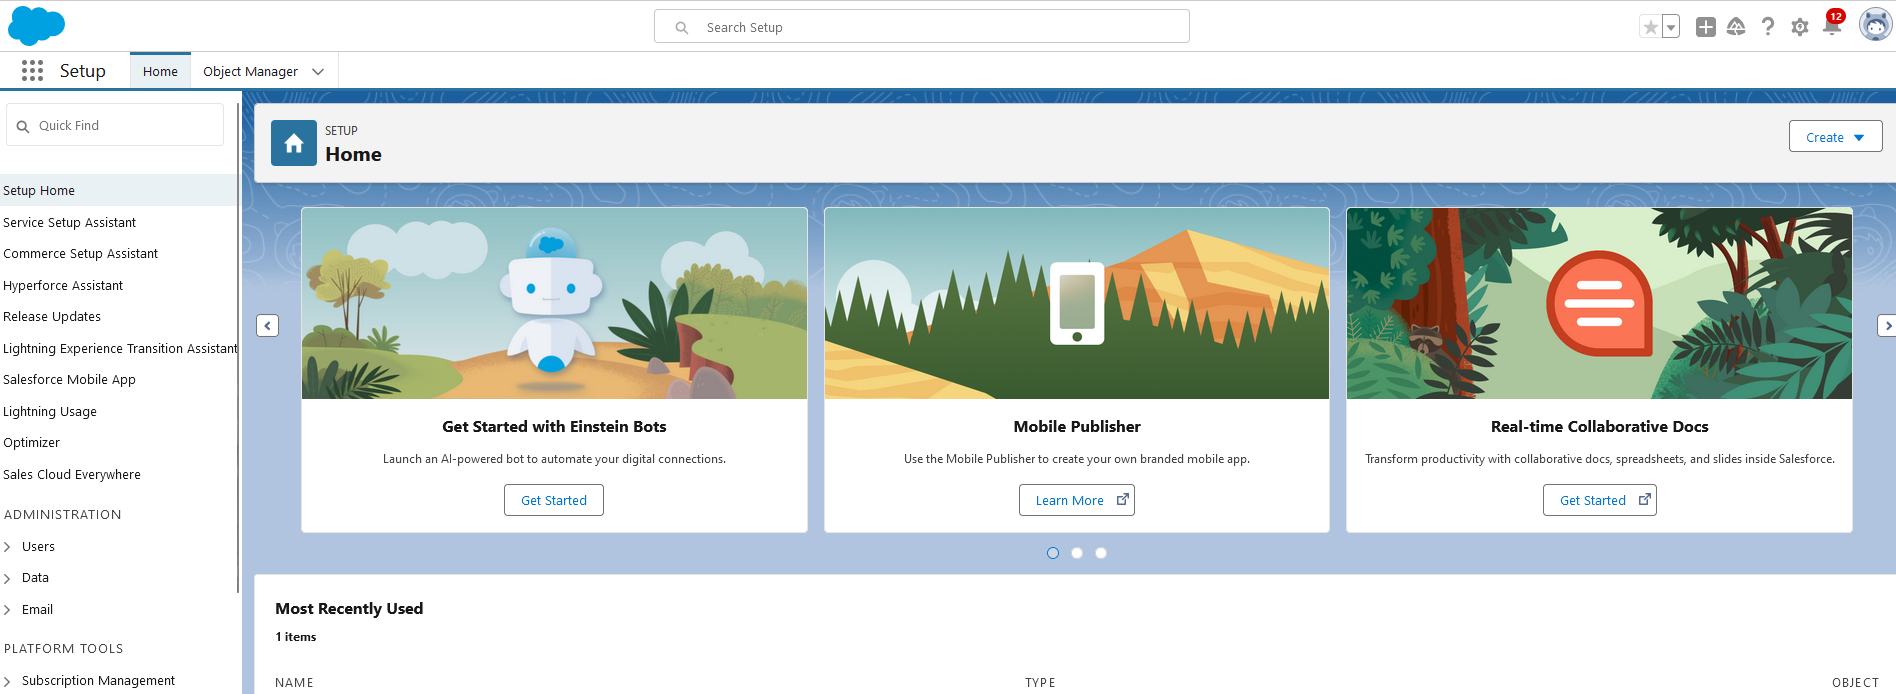
Reset your password and login to Salesforce:
Add Salesforce in Okta
In Okta, go to Applications > Browse App Catalog > Search for Salesforce:
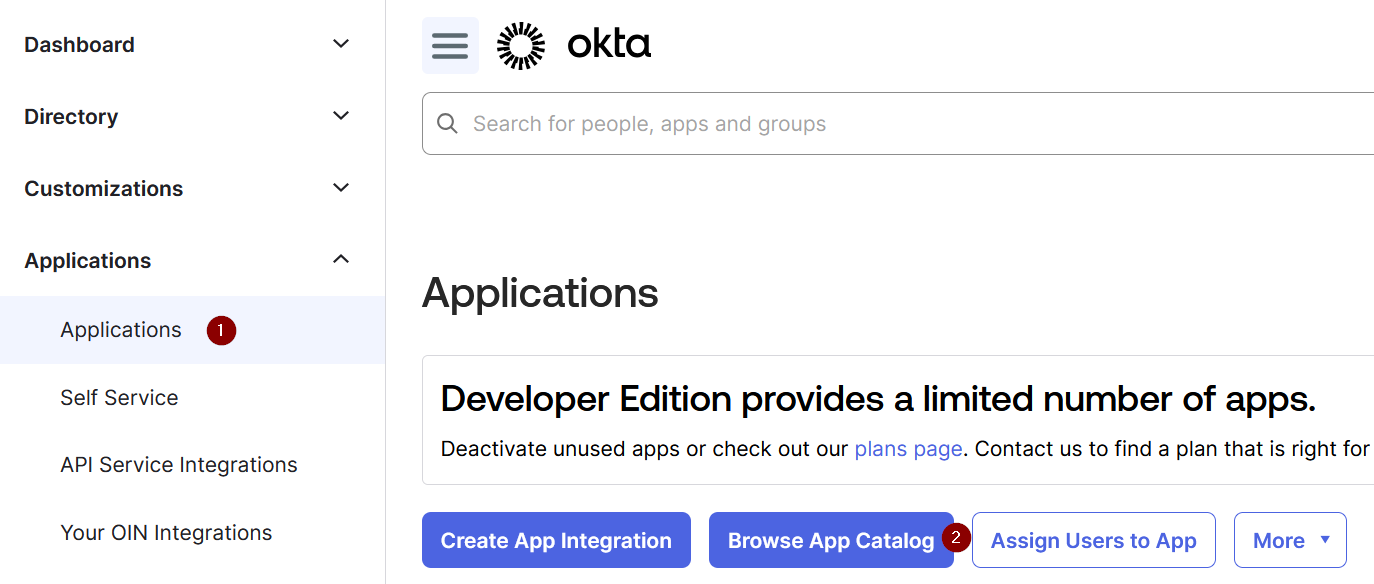
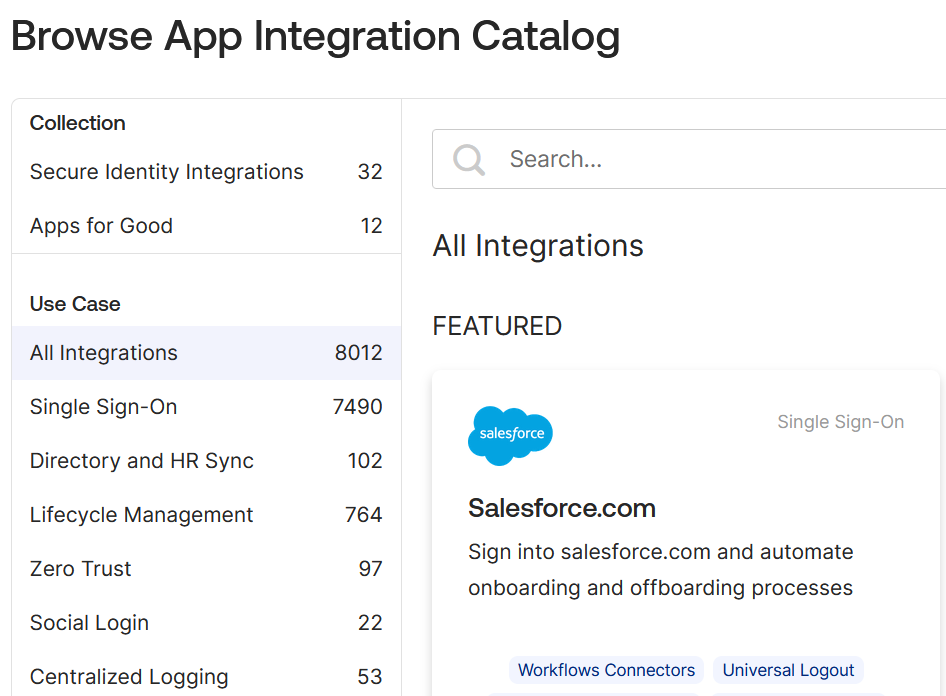
Select Salesforce and click on Add Integration:
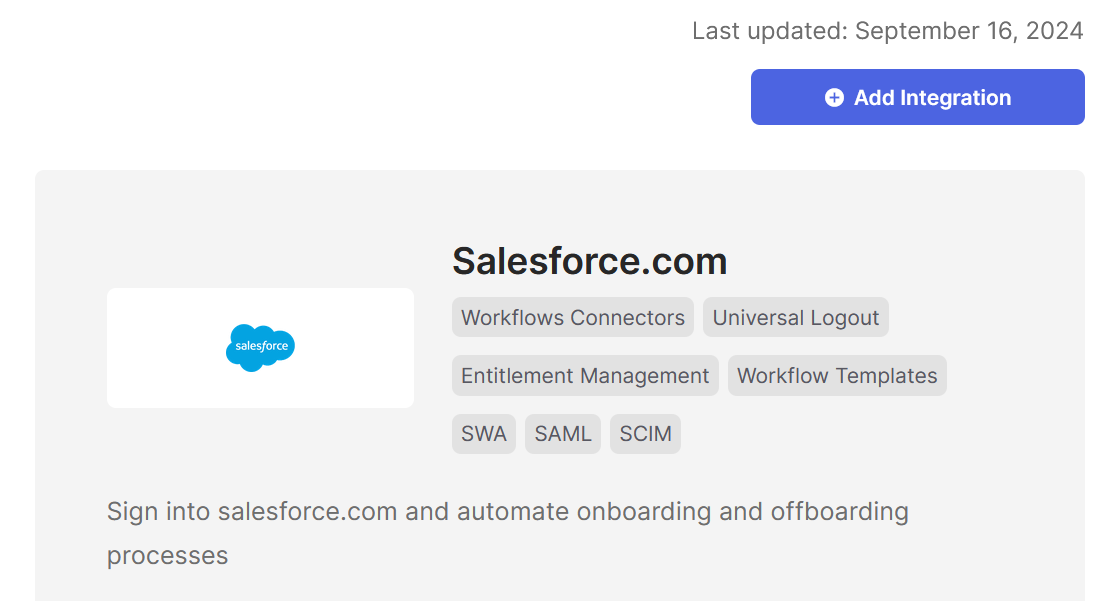
In the Sign On options, Select ‘SAML 2.0’ and for Application username format select ‘Custom’:
Enter the Okta Expression Language ```
substringBefore(user.email, '@')+"YOURDOMAINHERE"

Select Done.
Configure Salesforce Settings
In the top left search box, search for Single Sign-On settings:
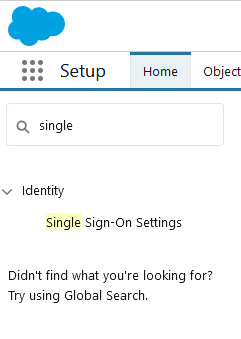
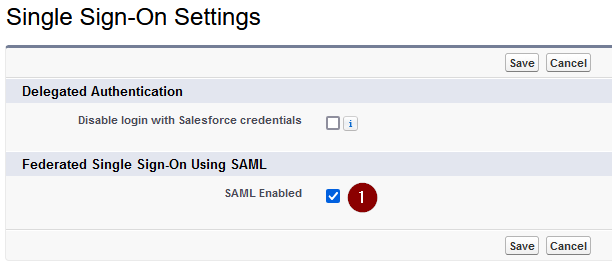
For first time setup, enable SAML by clicking the Edit and tick the ‘SAML Enabled’, click save:

Create a new settings by selecting the ‘New’ button:
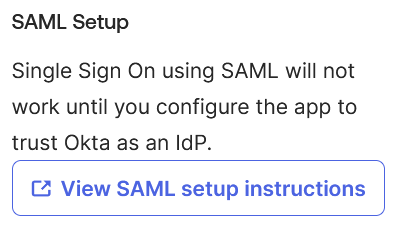
Inside the Okta portal in the Salesforce application, there is a SAML setup guide, there will be data we need to enter into Salesforce.
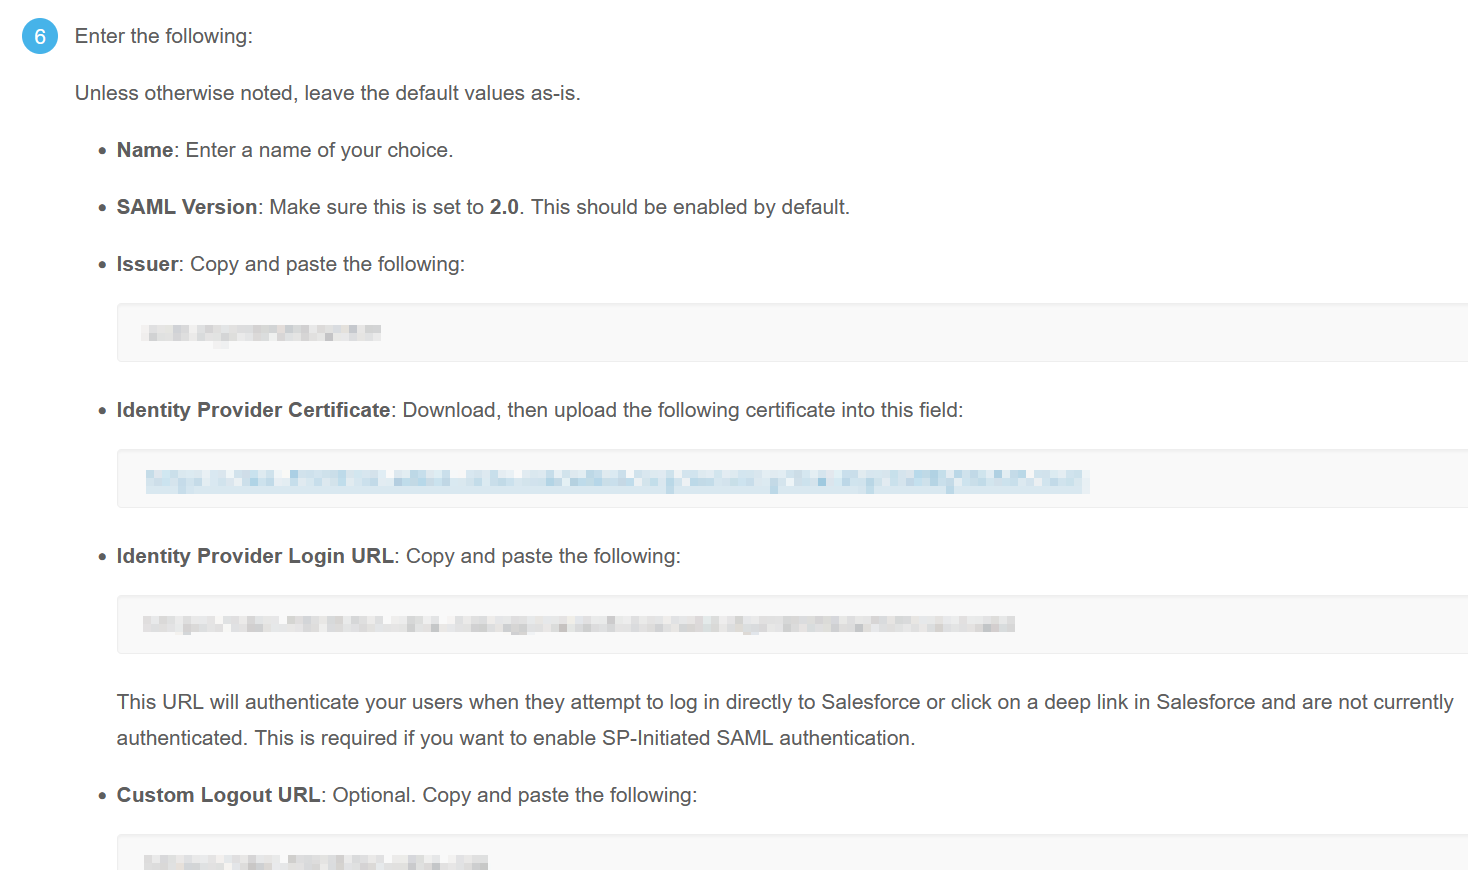
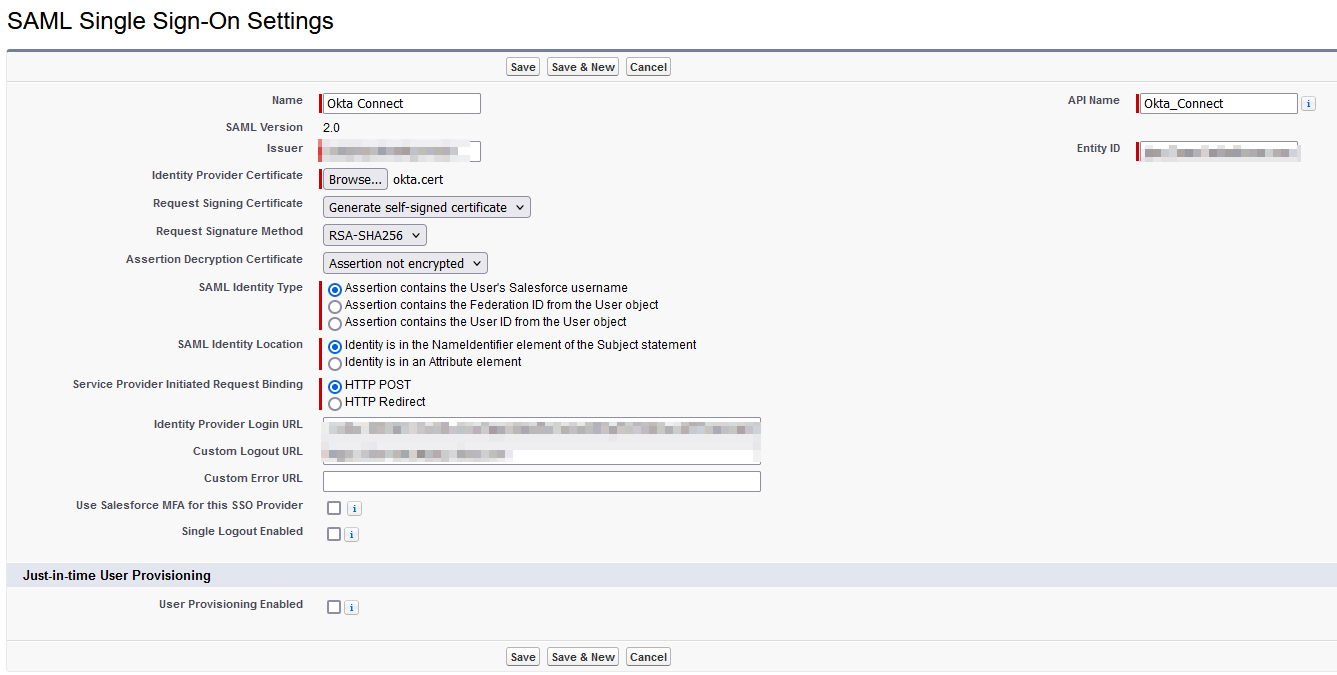
Cross reference and fill out the data in Salesforce:
After saving, take note of the Endpoints section, we will use this to input into the application section in Okta:
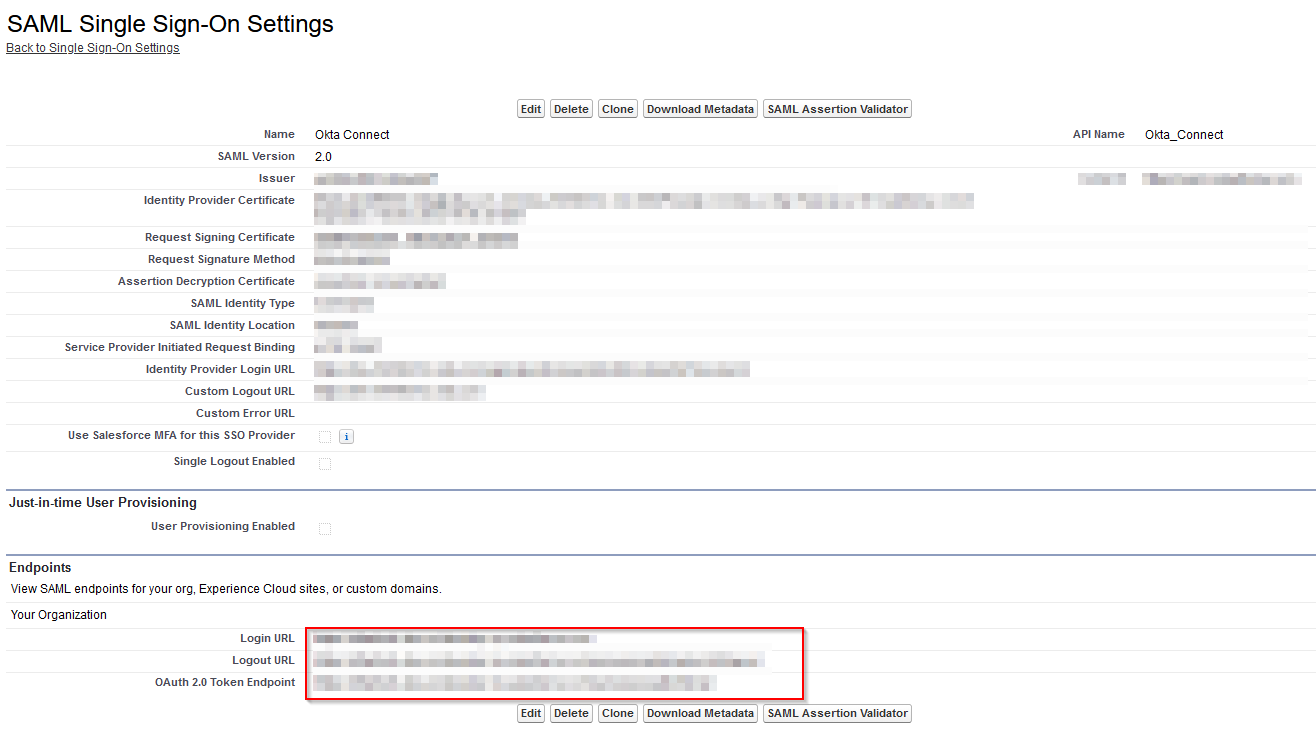
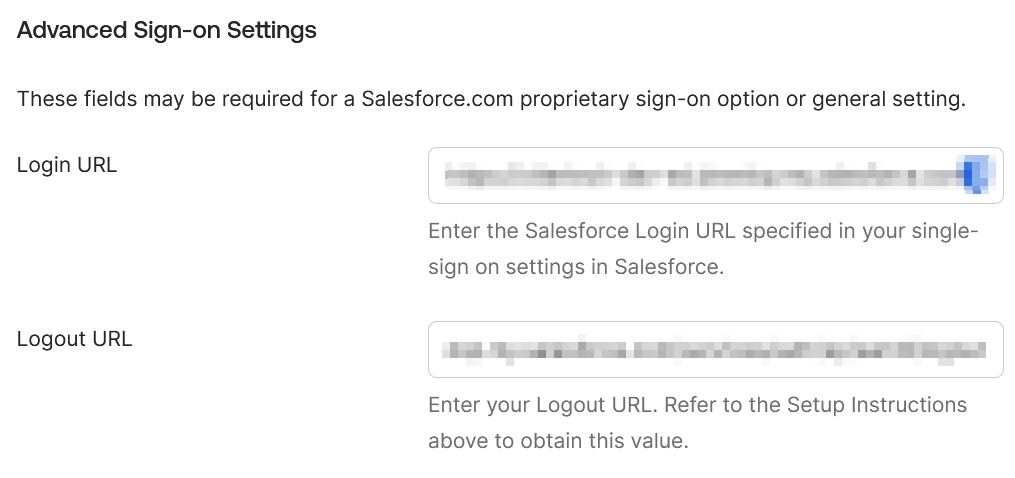
In Okta, paste the data into Advanced Sign-On Settings:
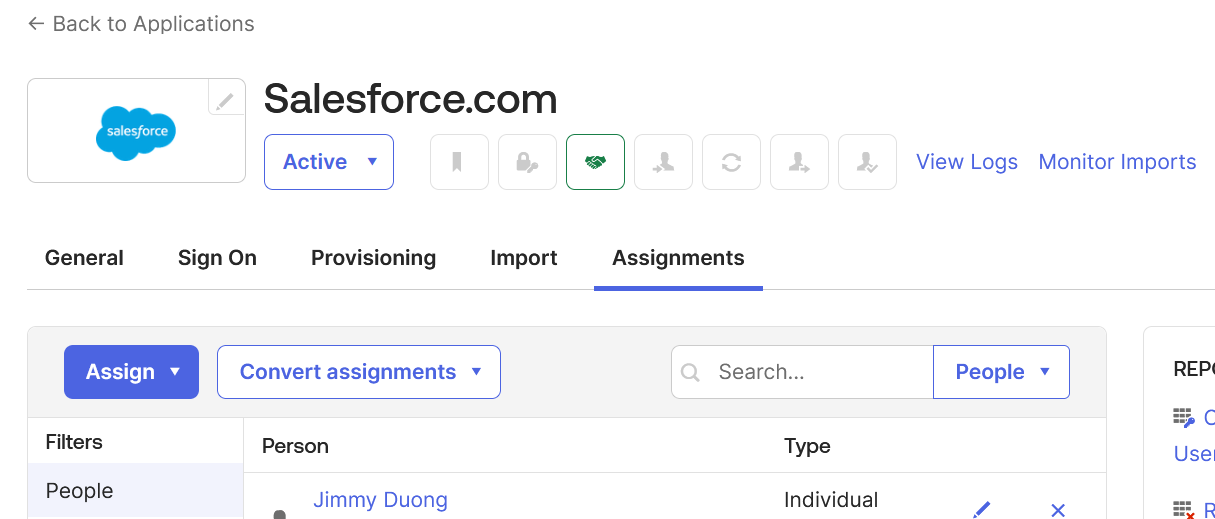
Assign users to the Salesforce application in Okta.
 We are now ready to test our integration.
Test Connection
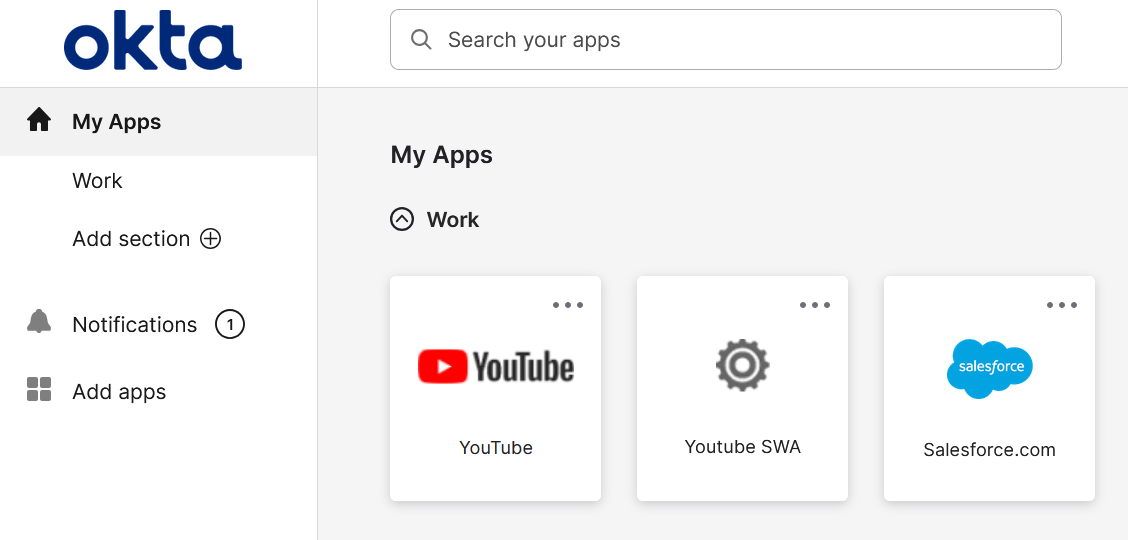
In the user portal, select the Salesforce.com app:
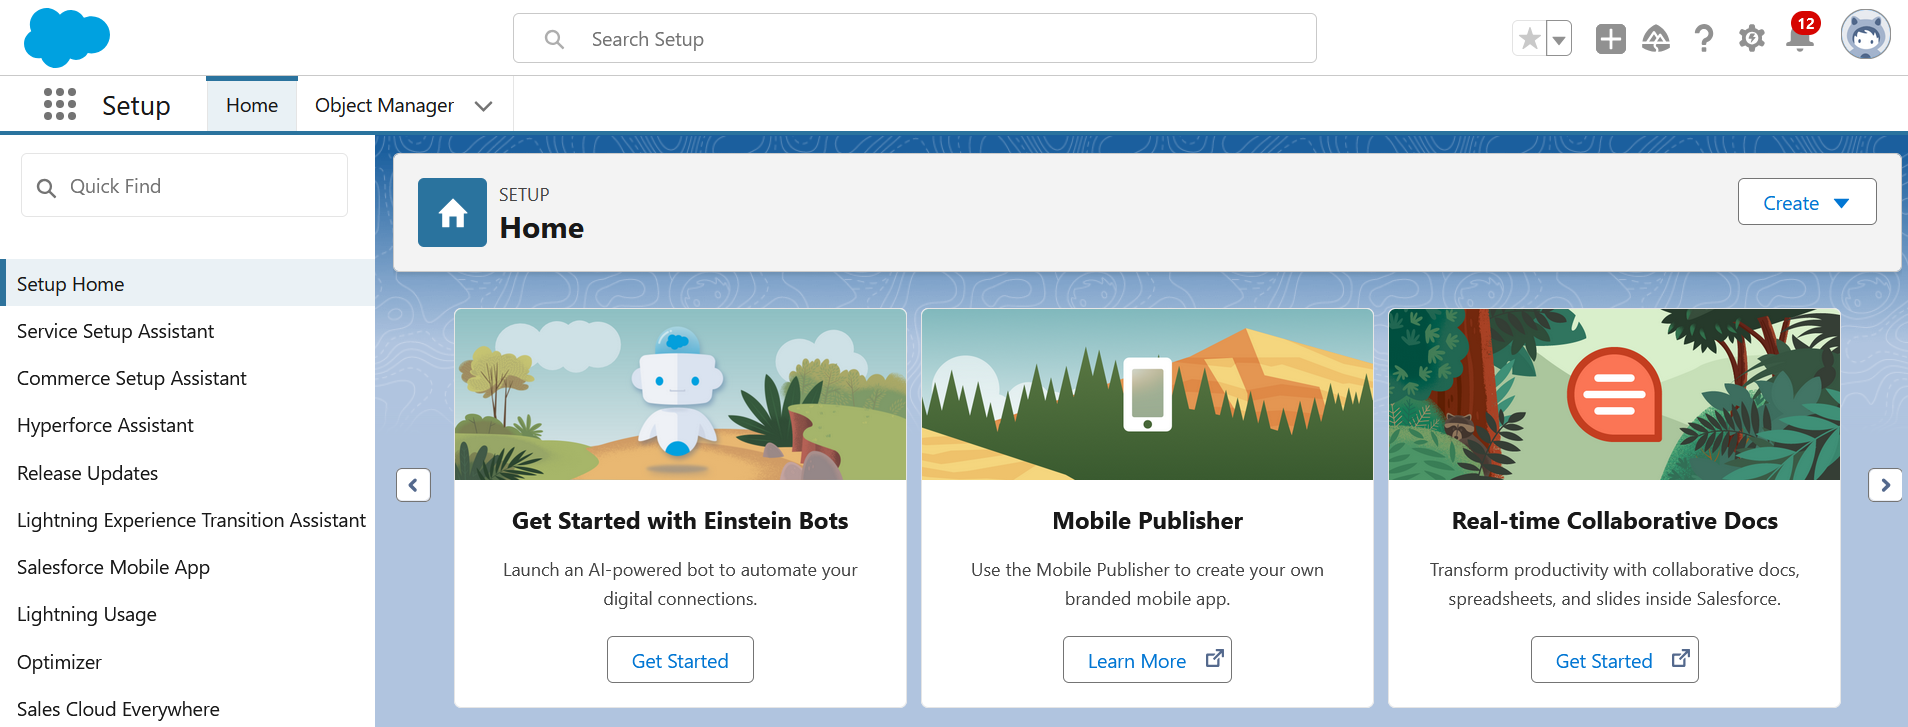
It should direct you straight into the Salesforce portal:
Things to Note
When assigning users to Salesforce in Okta, I had an issue where the user did not have the ’@’ sign added to their username so Salesforce ran into an error. We can fix this during the user assignment process.