Register an on-prem application to access resources in Azure and Entra ID.
Authentication Method
When registering an app, the App Identity will require:
App (Client) ID - Similar to a username
- Client Secret - The app’s password or
- Certificate (more secure)
App Registrations
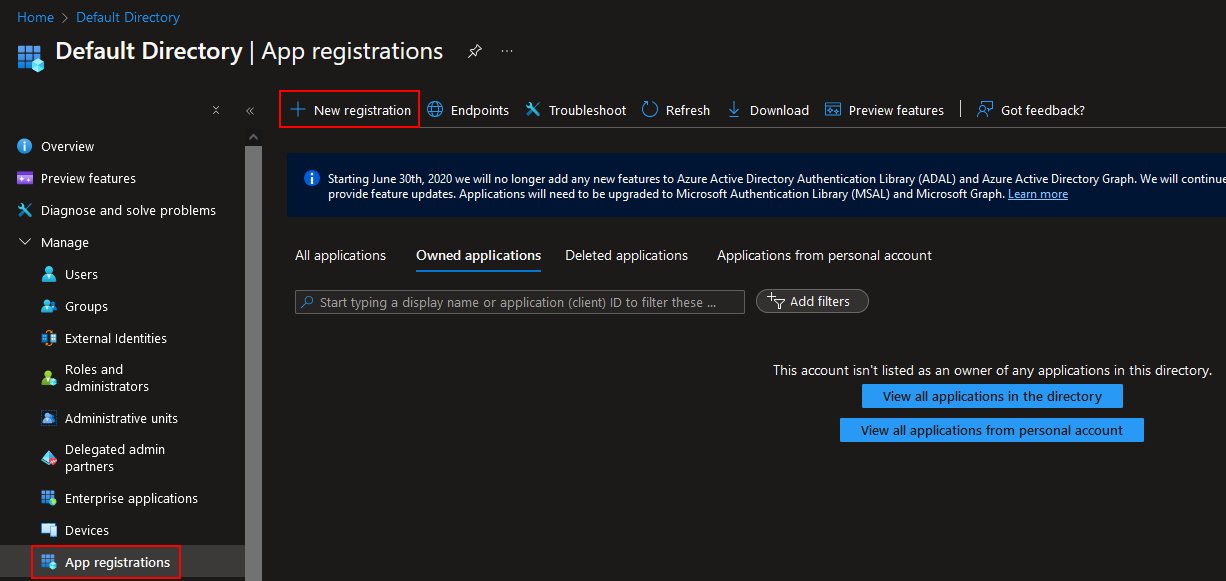
If we are building an app to work with Entra ID then choose App Registrations
In Entra ID, navigate to App registrations and select ‘New registration’:
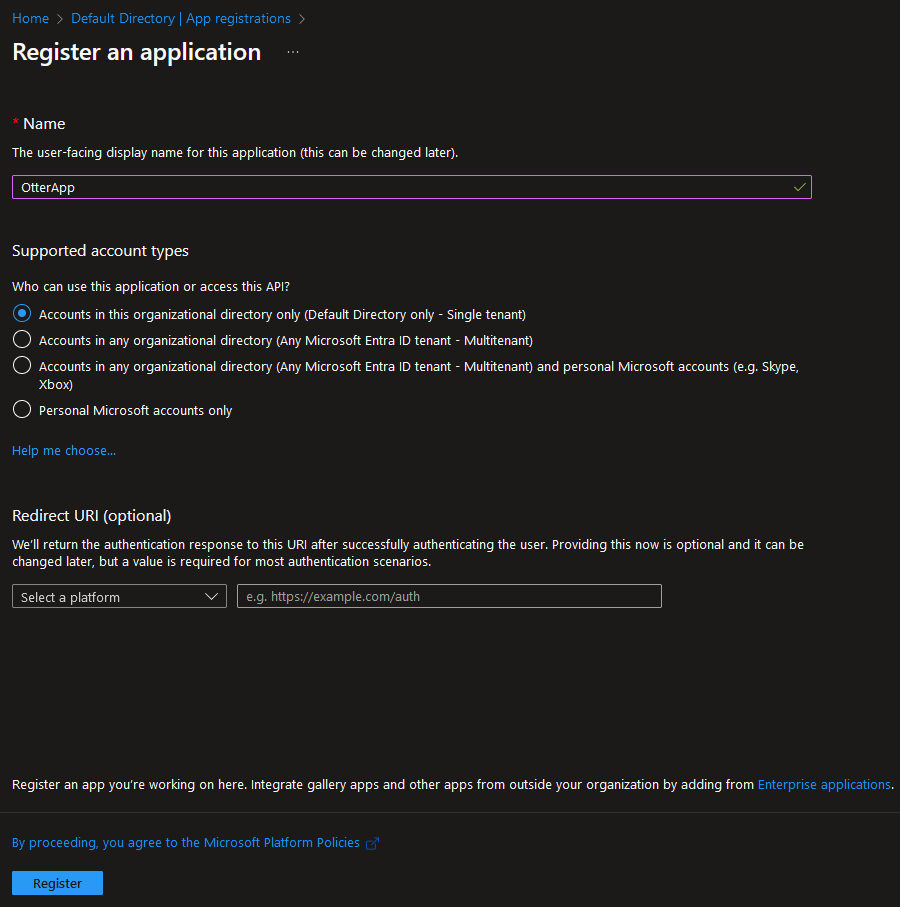
Give the app a name and choose the supported account types. We will be using default as we only need it for a single tenant. We can also add the redirect URI to direct the user to the app:
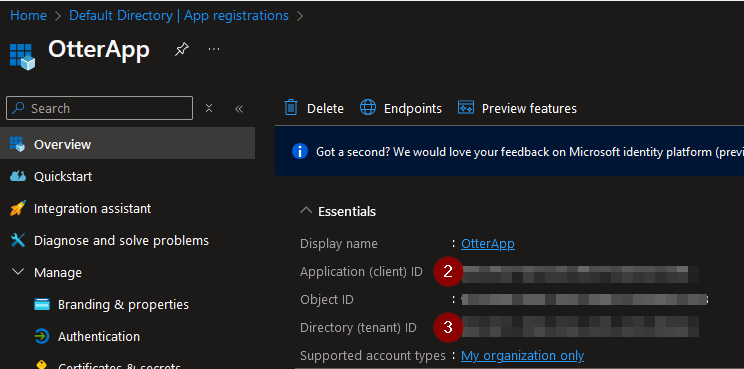
After selecting ‘Register’, we can now see the app has been registered:
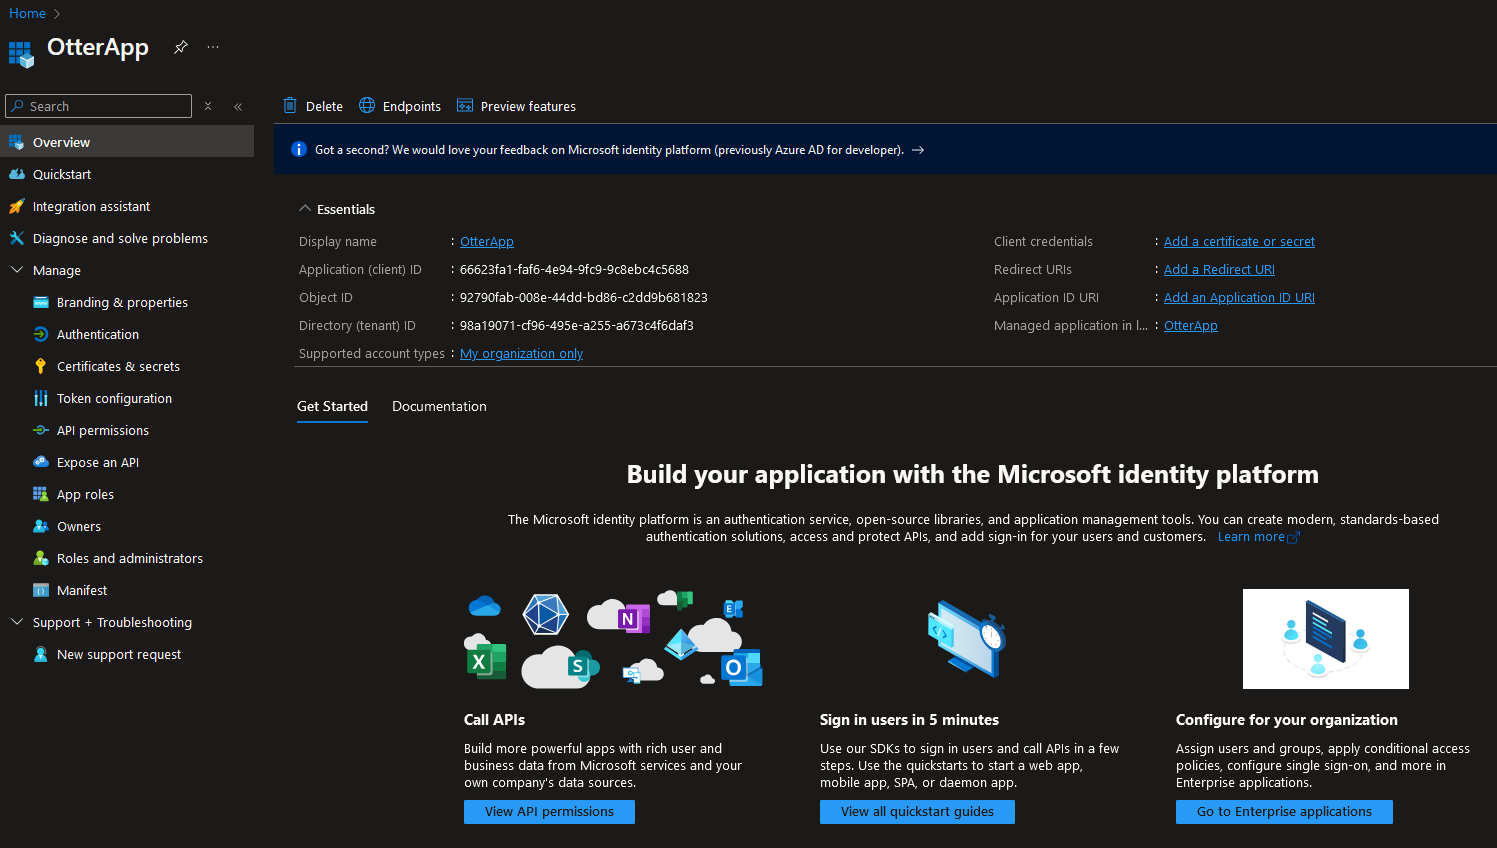
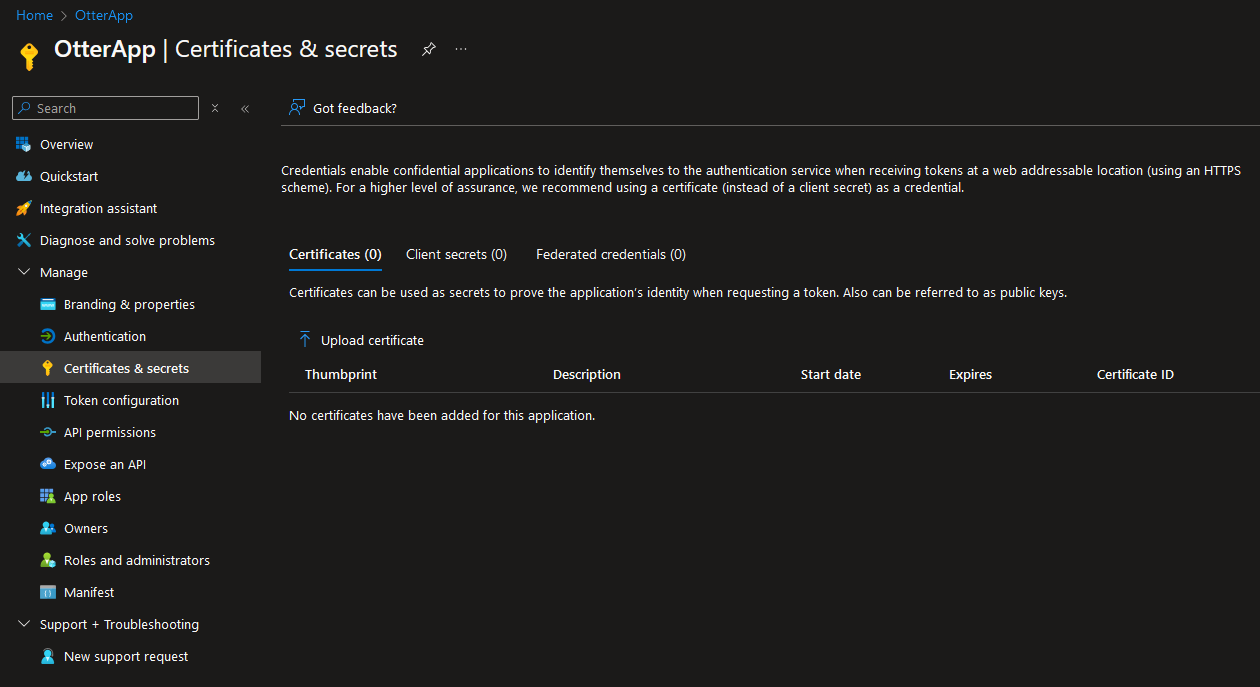
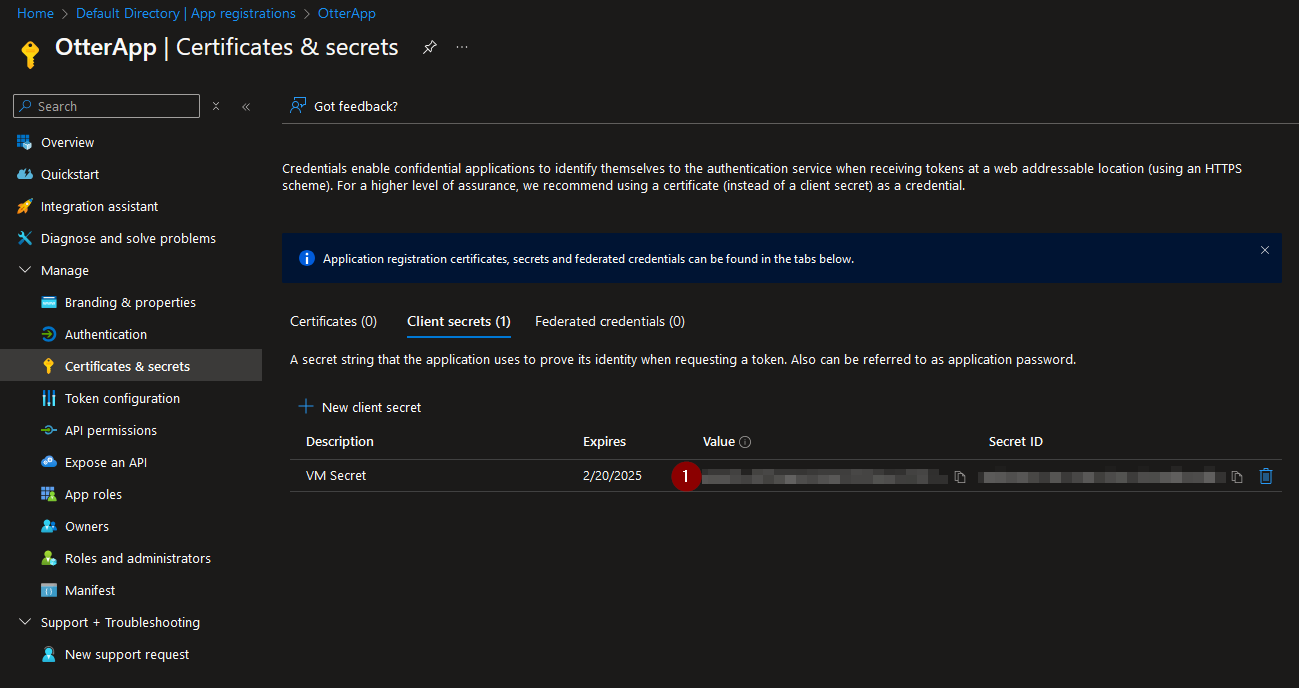
We can create client secrets and upload secrets to verify our app:
Logging in using an App Identity
We can test this out by creating a VM, and assigning proper RBAC roles in the resource group.
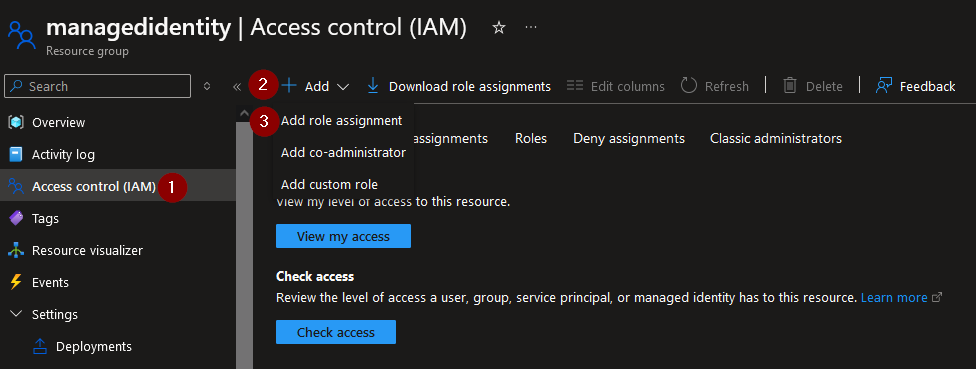
Navigate to the resource group where the VM has been created and add a role assignment:
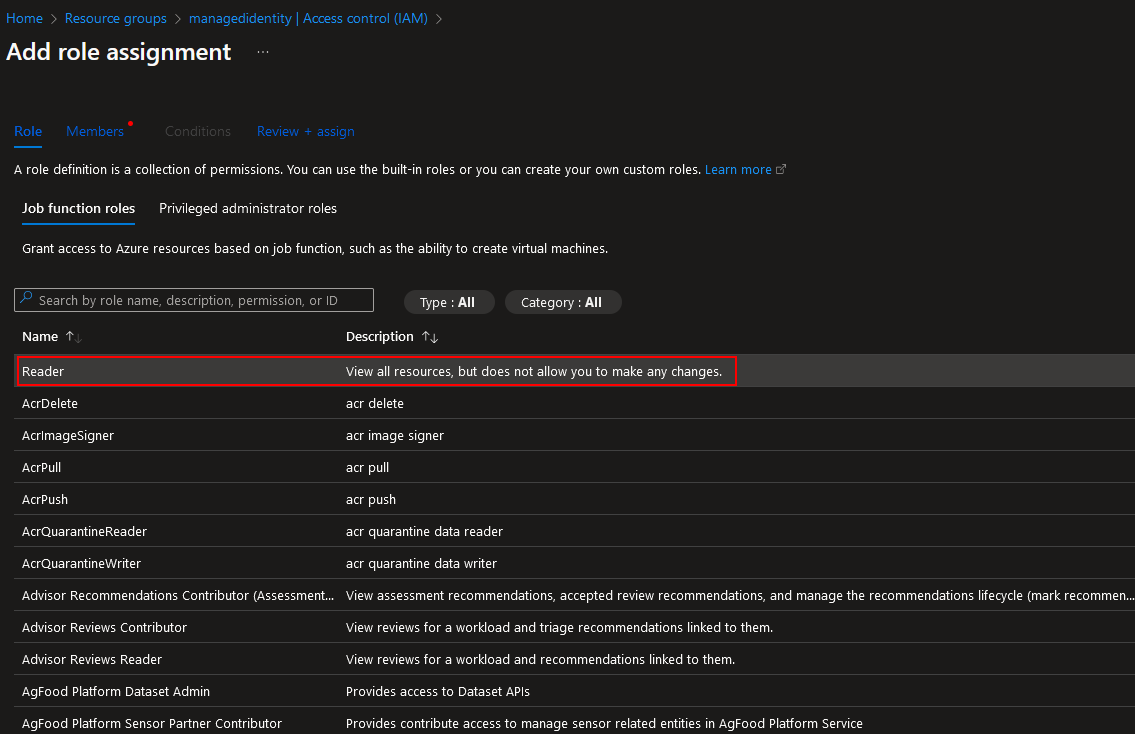
Select the ‘Reader’ role:
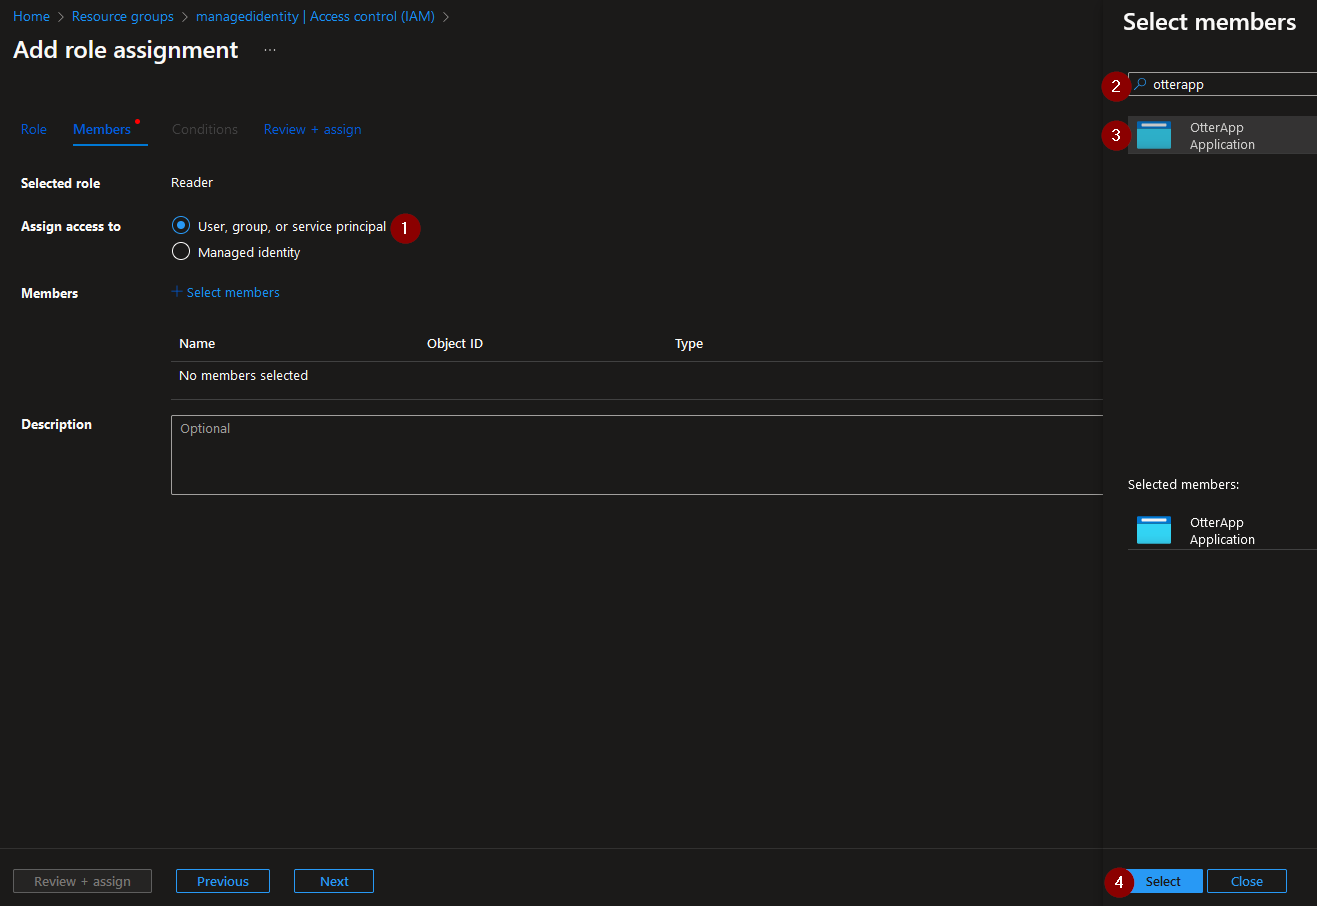
Select ‘User, group or service principal’, choose the app and select ‘Review + assign’:
Create a VM and use the Azure CLI to login as the application:
az login --service-principal -p XXX Enter #1 XXX -u XXX Enter #2 XXX --tenant XXX Enter #3 XXXWarning
You may need to download the Azure CLI if PowerShell does not recognize the ‘az’ command.

We have now used the app identity to log in to Azure.
Enterprise applications
We can use Enterprise applications to manage who can use apps.
Navigate to Entra ID and select ‘Enterprise applications’:
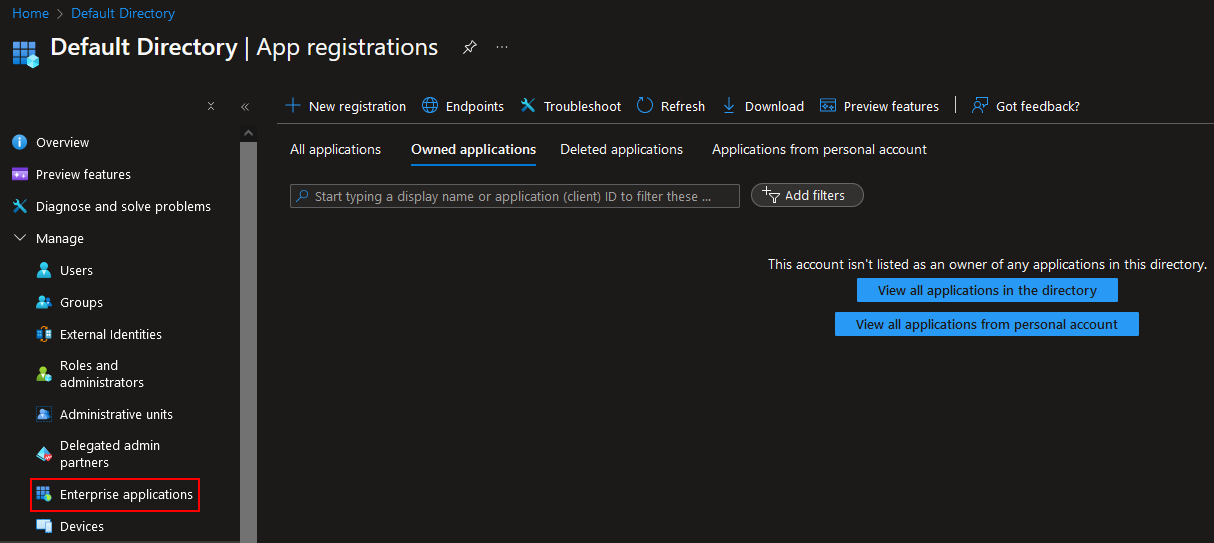
We can see our registered app ‘OtterApp’ that was created earlier added:

Clicking on the app, we can now edit if we would like to require assignments and make the app visible to users:
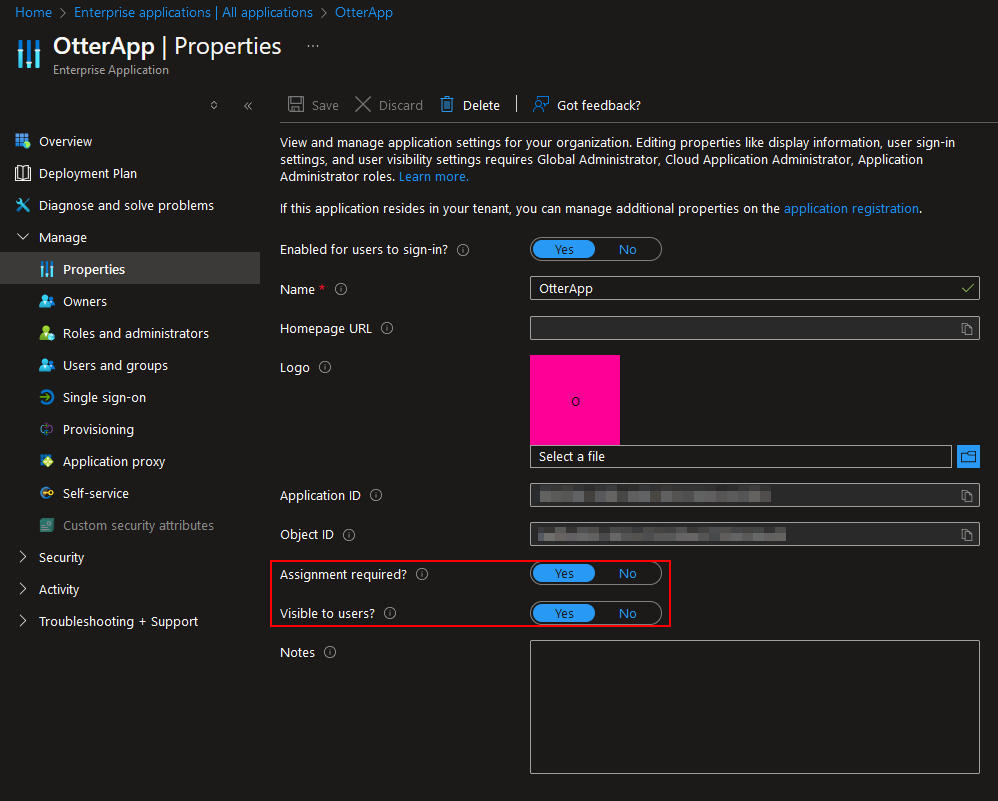
If ‘Assignment required’ is positive, users will need to be added before they can access the app:
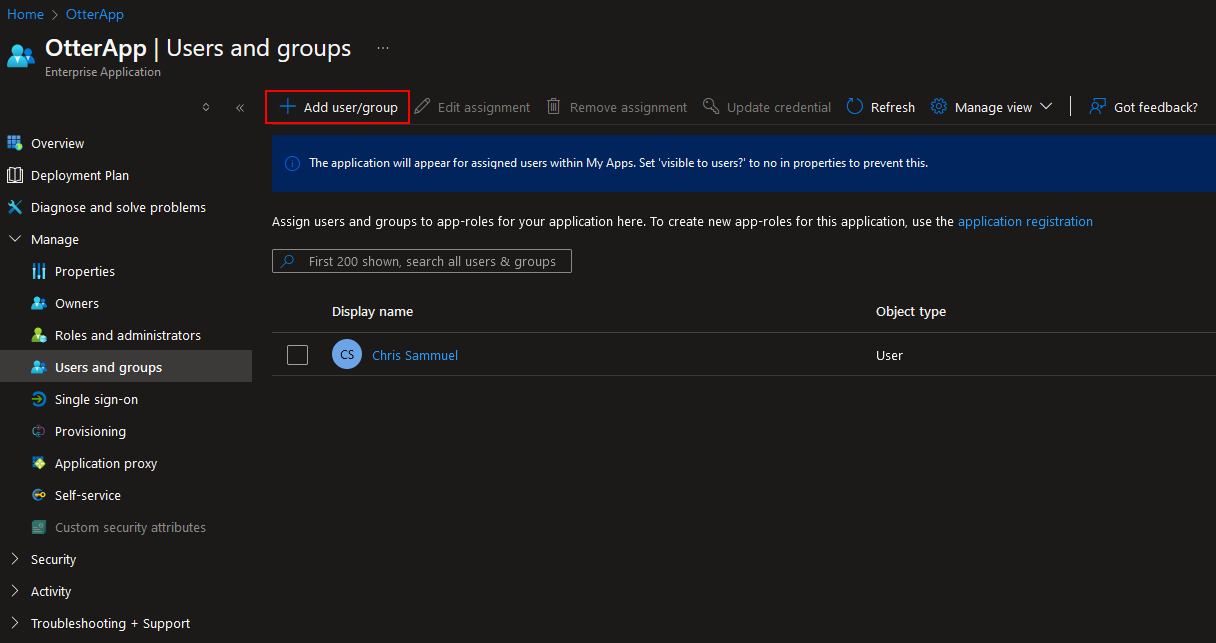
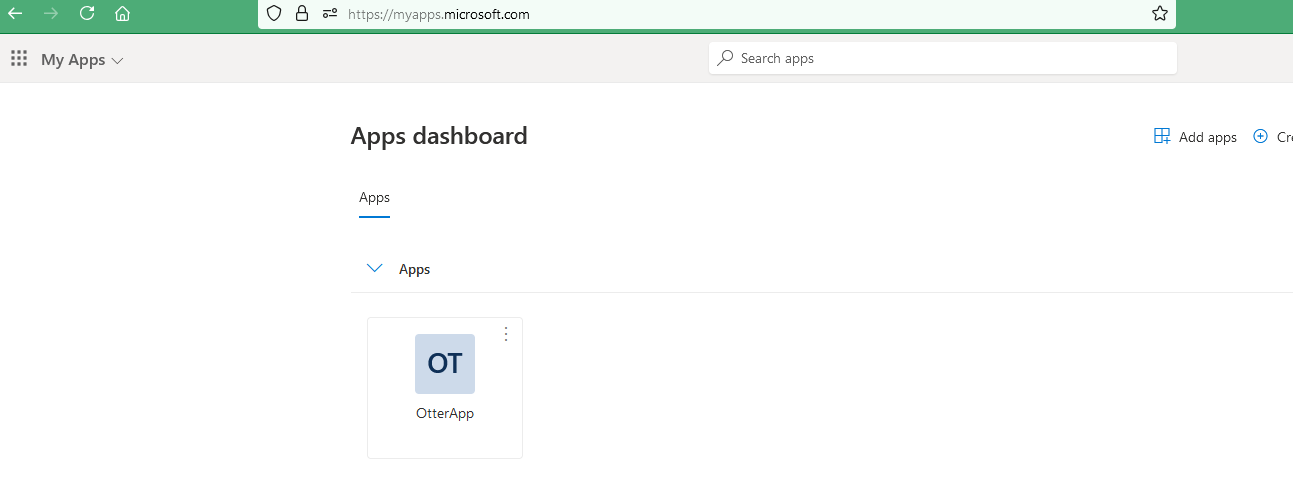
If we added a user, they can now see the app we registered at https://myapps.microsoft.com/: