Overview
Vulnerability management is a crucial activity organizations need to perform in order to determine risks associated with assets. Performing various scans with Nessus allows analysts and engineers to identify, prioritize, and remediate any vulnerabilities that are on the network.
We will create a test network of EC2 instances with Linux and Windows operating systems and install Tenable Nessus in order to scan the network for any vulnerabilities.
Prerequisites
For this project, we will using AWS as our cloud provider to create the instances. High level knowledge of cloud and networking are required.
Setting up the Network
Create the Nessus Instance
This will be the instance we will use to scan all the targets on the network.
In the AWS console, navigate to EC2 and select ‘Launch instances’:
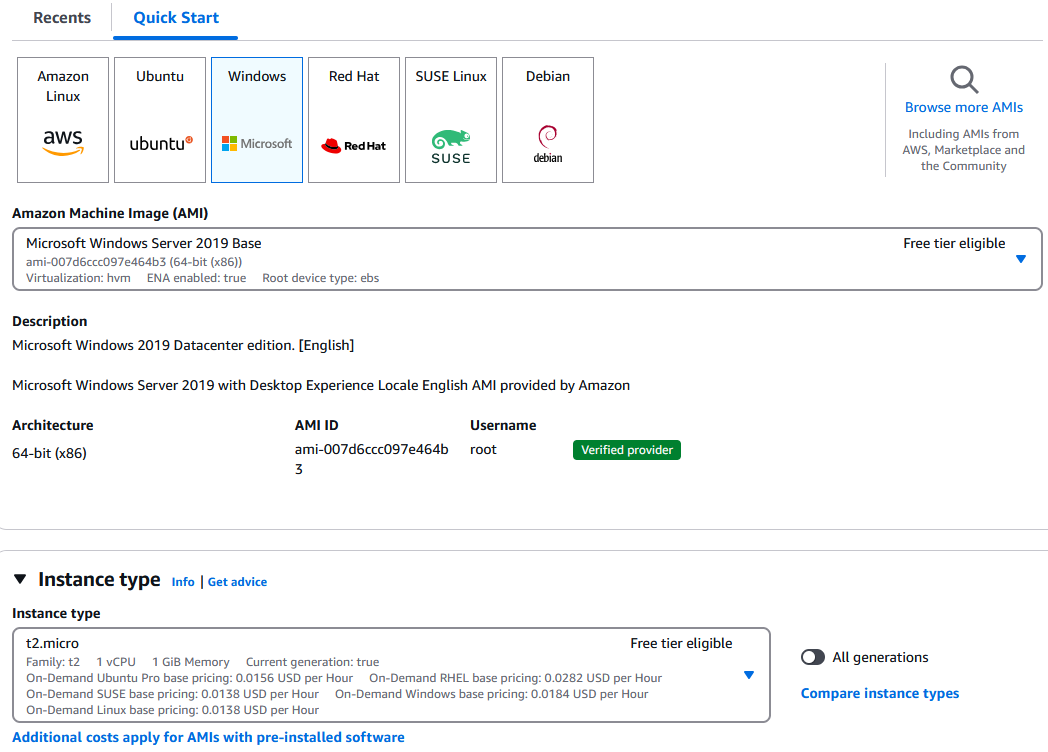
We will be using Windows Server 2019 and the t2.micro instance type:
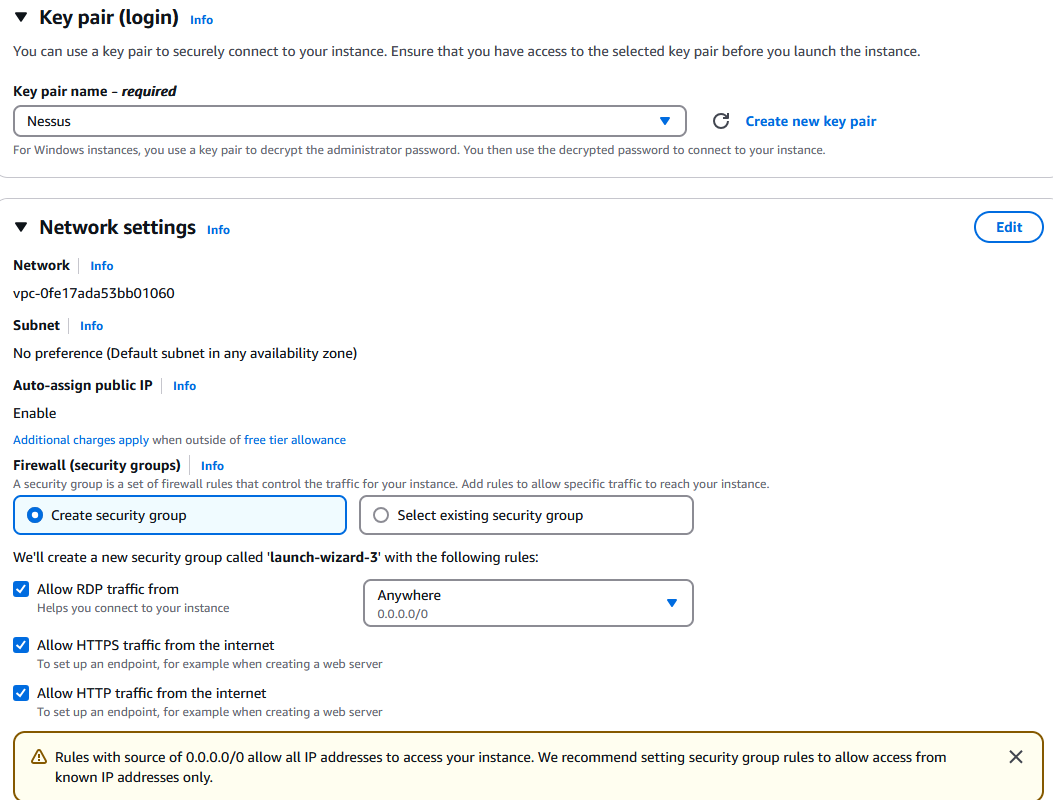
Create a new .pem key pair and give it a name. Save it as we will need it later.
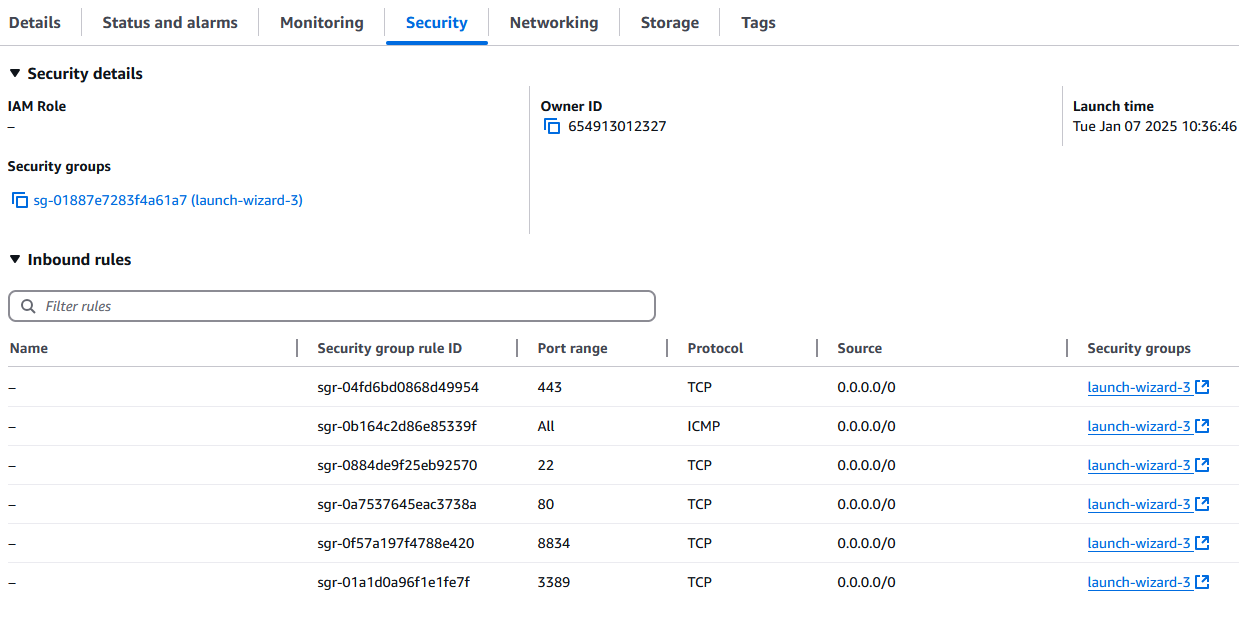
For network settings, we will allow RDP (3389) traffic from anywhere to simplify the lab. You may want to restrict it to only your IP in your case. We will also allow HTTP (80) and HTTPS (443) traffic:
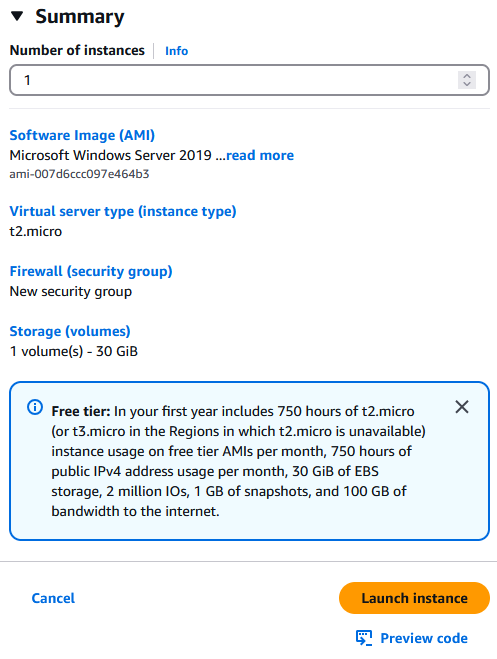
Leave all other options as-is and select ‘Launch instance’:
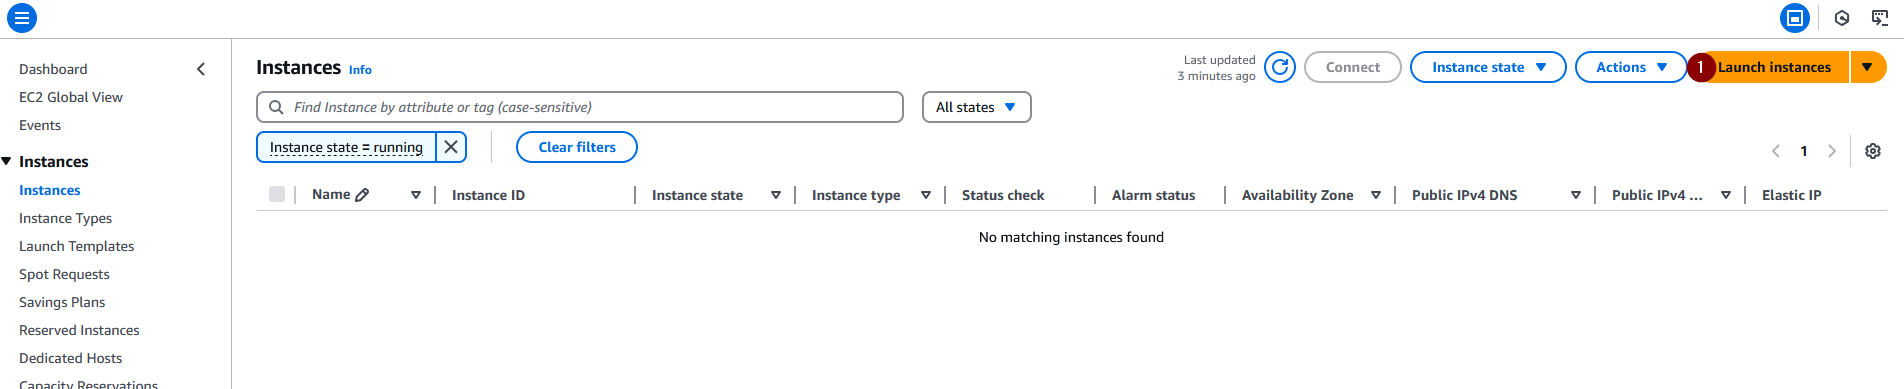
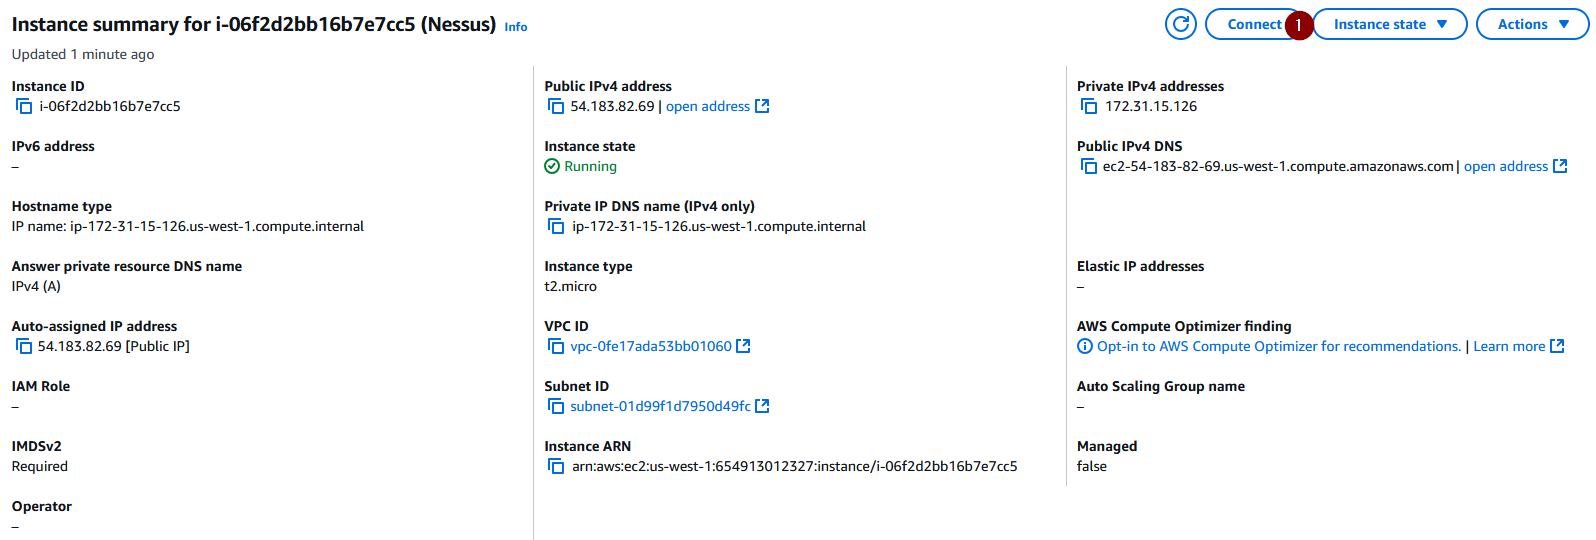
We can now see that the instance has been created and running:

Connect to the Windows instance
Now that the instance is running, Click on the ‘Connect’ button:
Select ‘Get password’:

Upload the .pem key we created during the creation of the instance in order to decrypt the password:
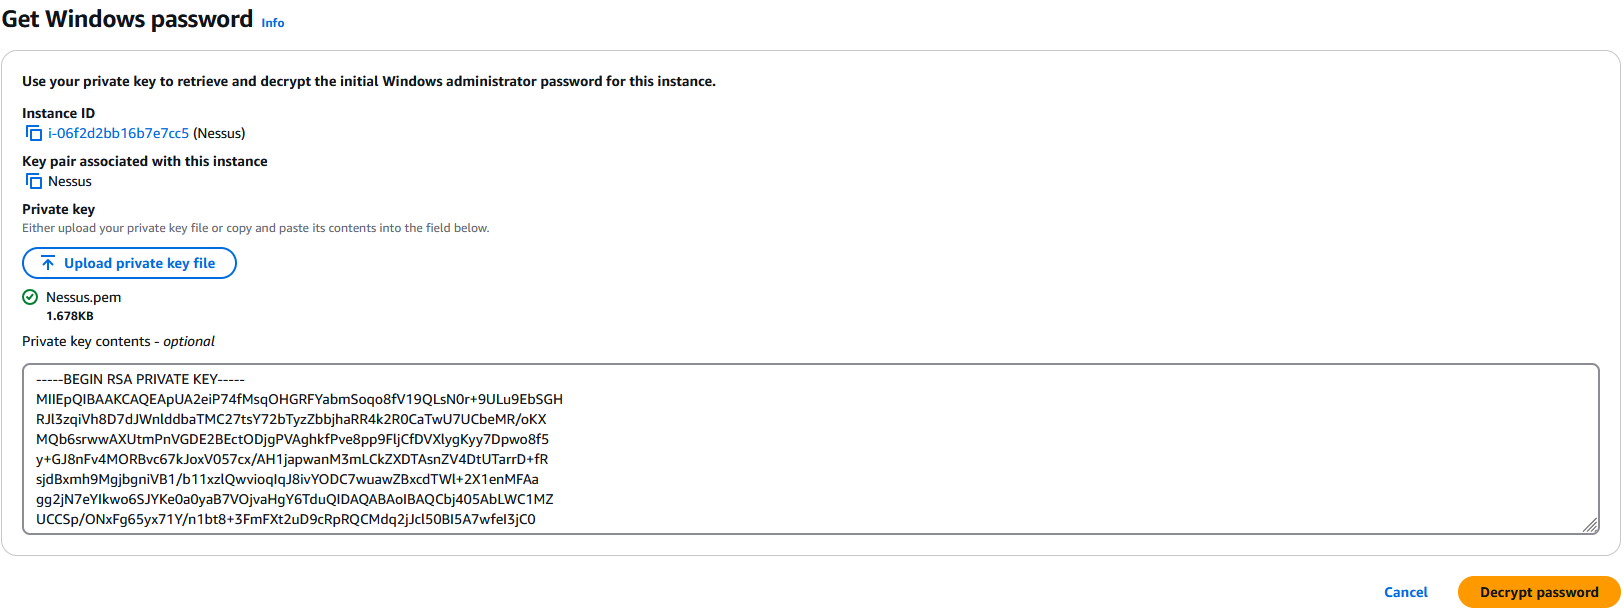
After decrypting the password, save it as we will need it to login to the instance:
Warning:
I am displaying the key as well as the password for demonstration purposes. You should not expose your secrets in production like this!
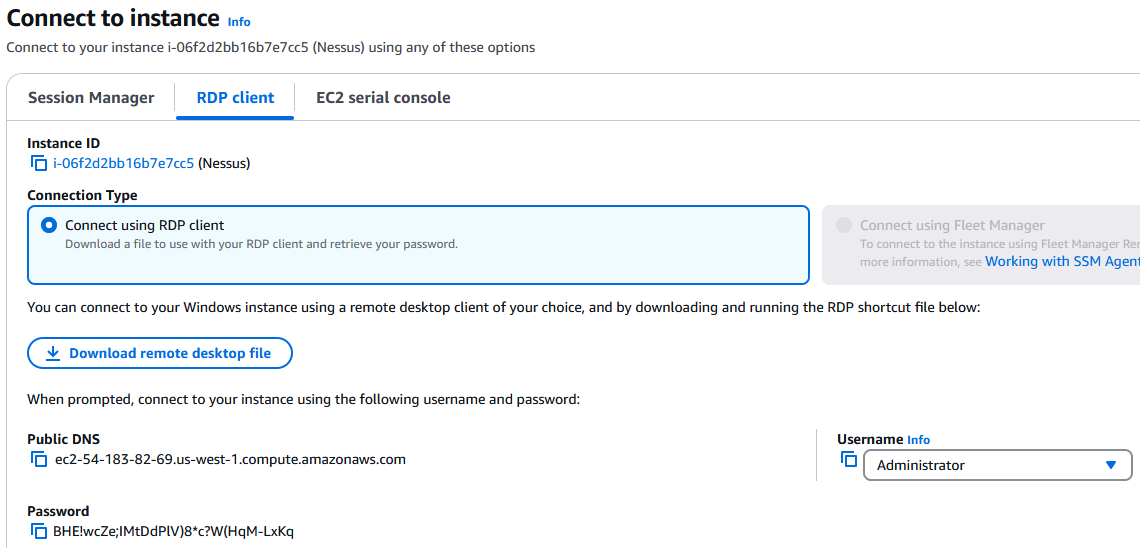
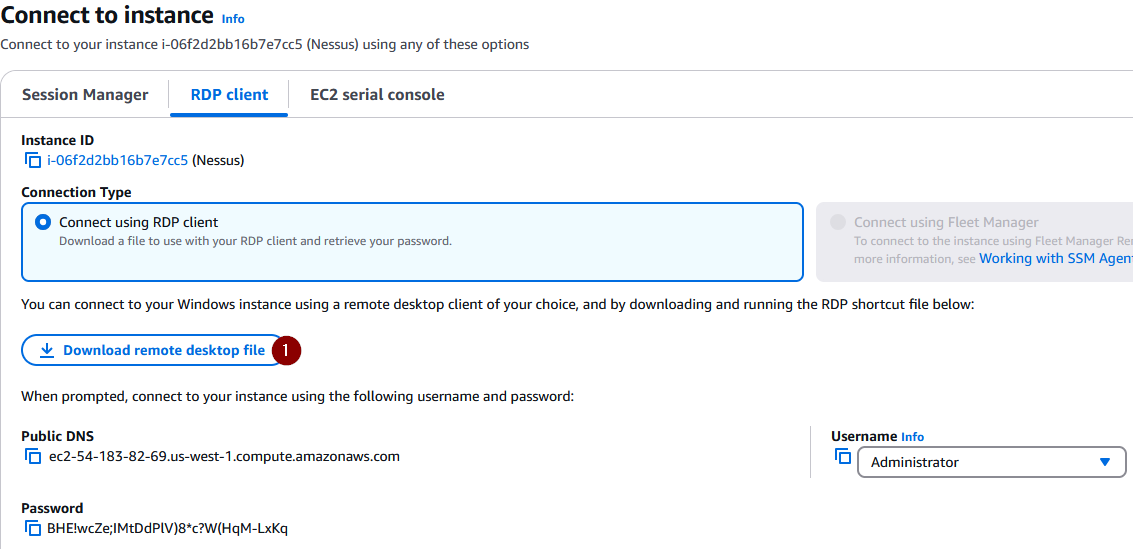
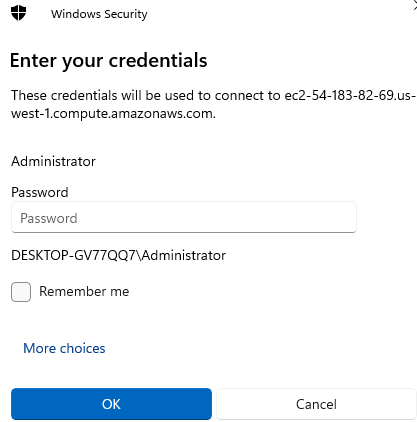
Now that we have the Administrator password, we can download the RDP file and enter the credentials:
After clicking on the RDP file, select ‘Connect’:
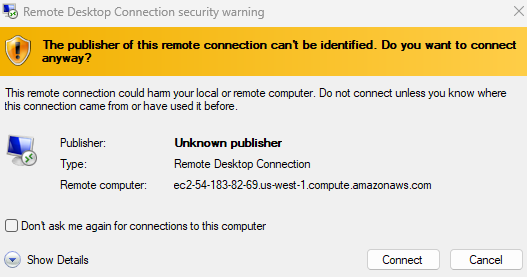
Enter the password you copied earlier:
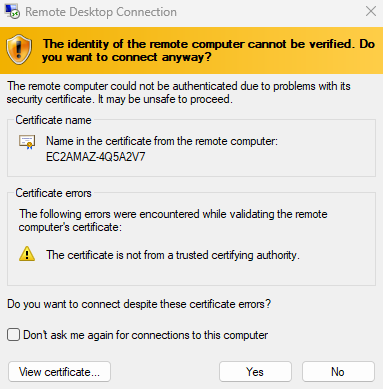
Select ‘Yes’:
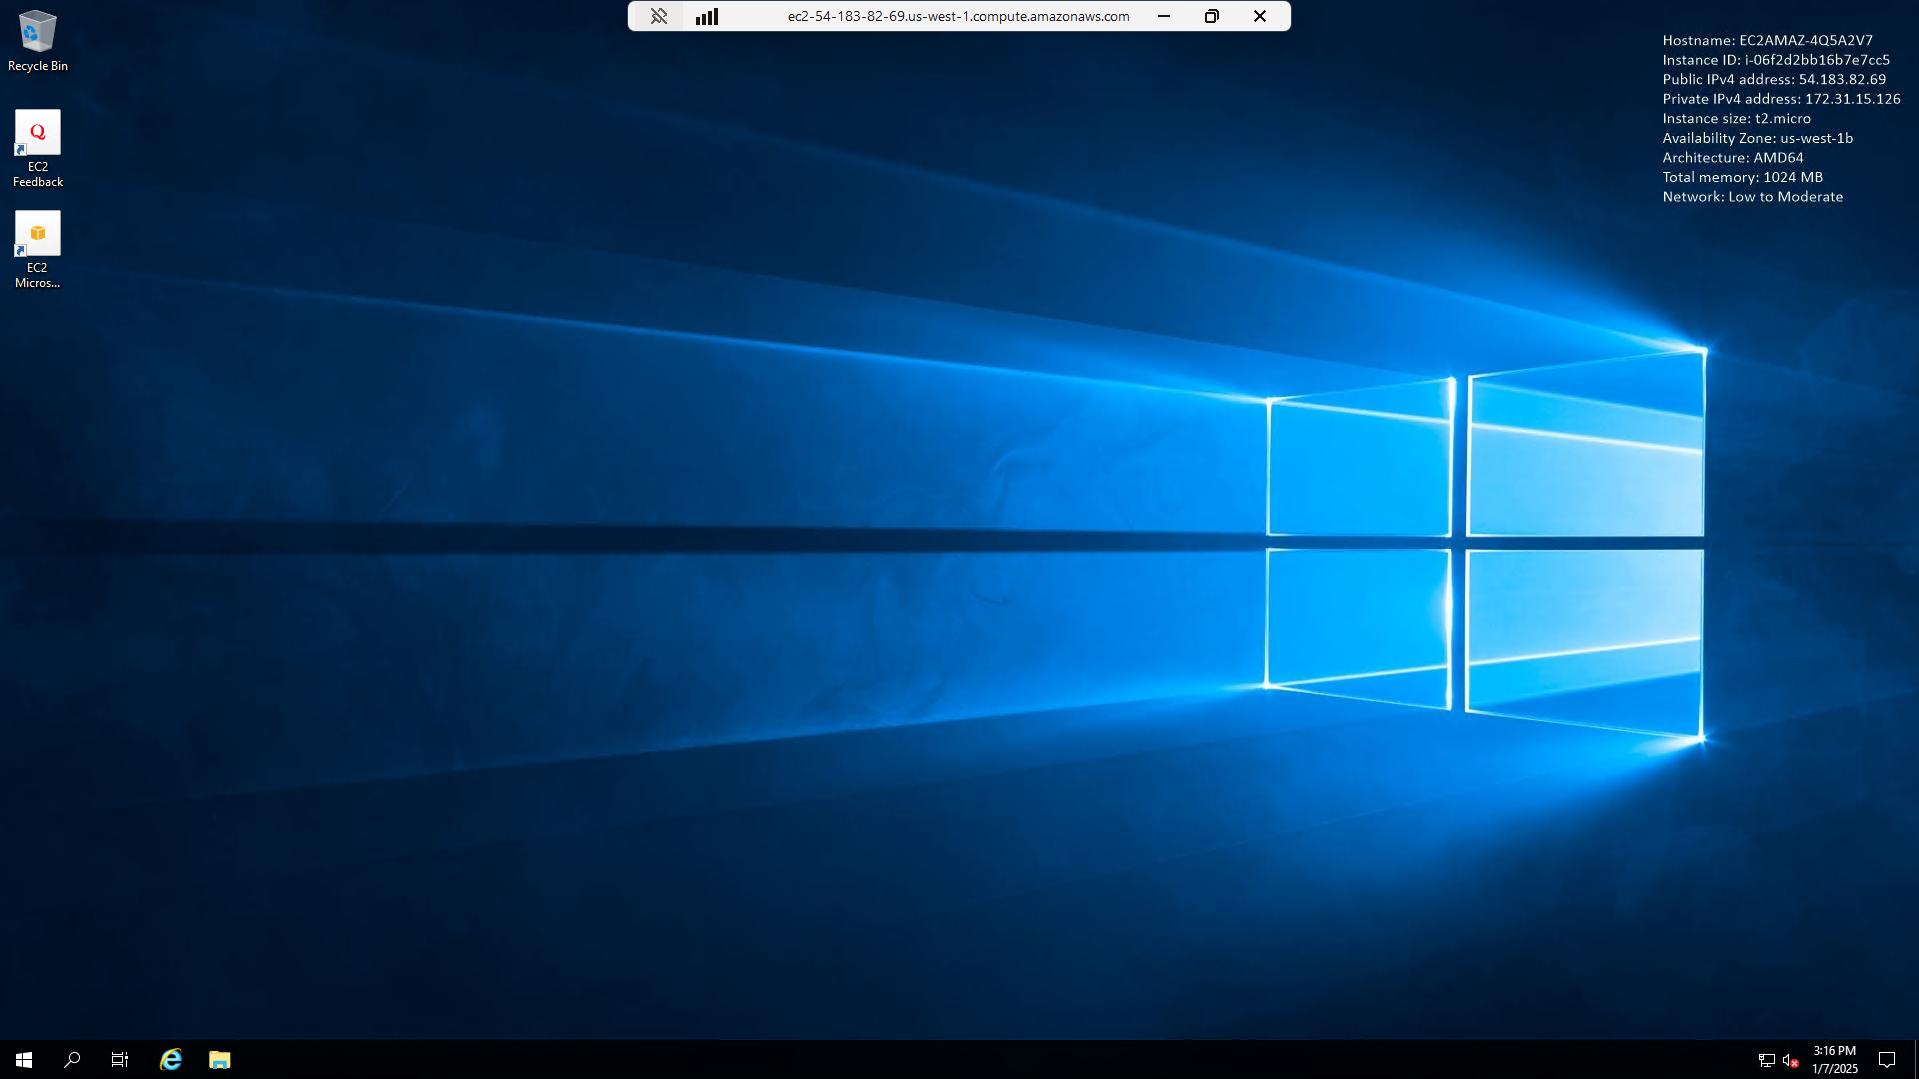
We are now in the instance:
Increase Storage for the Instance
It is crucial to increase storage if you would like to successfully install Nessus. The default storage is not enough for Nessus plugins. Check the footnote 1 for more information.
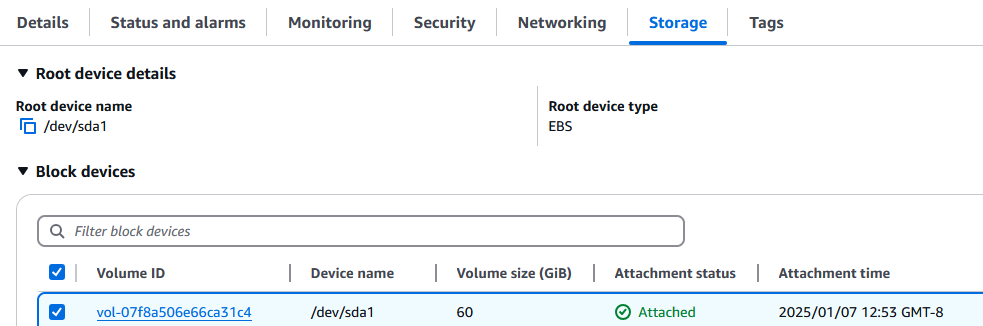
Increase Storage in AWS Console
In the EC2 instance storage tab, click on the Volume ID:
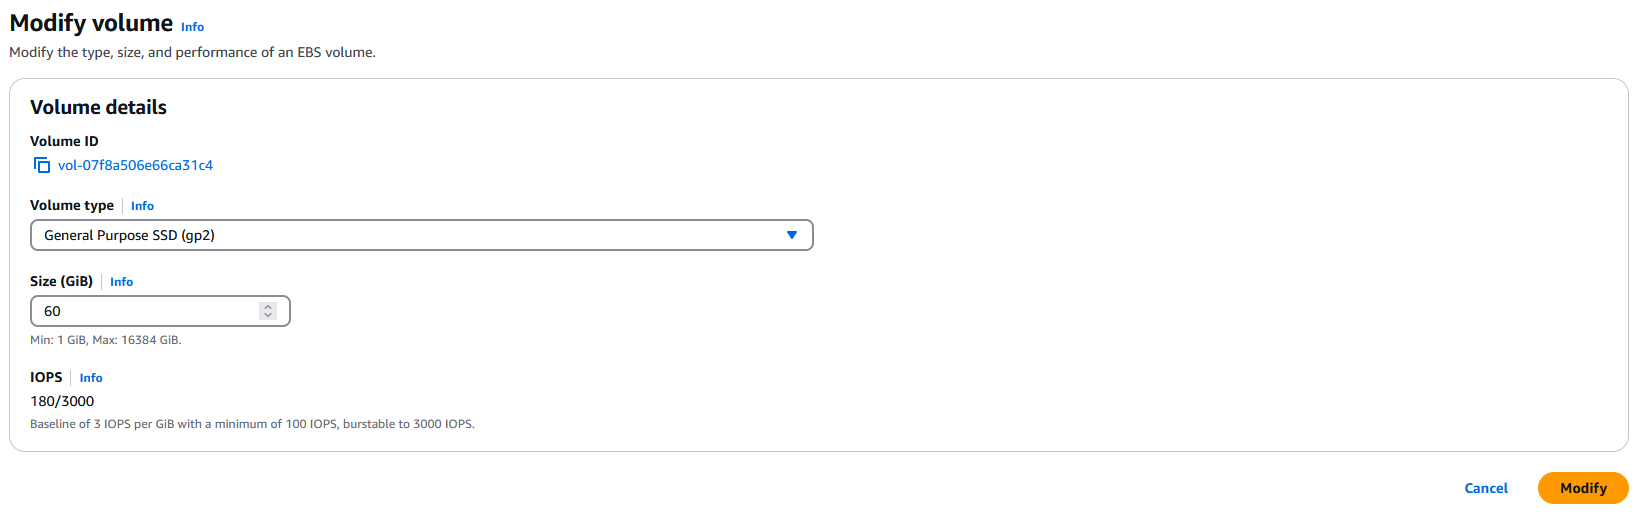
Select ‘Modify’:

Increase the volume size to your preferred (GiB) and select ‘Modify’. For this demonstration, I increased it from 30 (GiB) to 60 (GiB):
Extend Disk in Windows
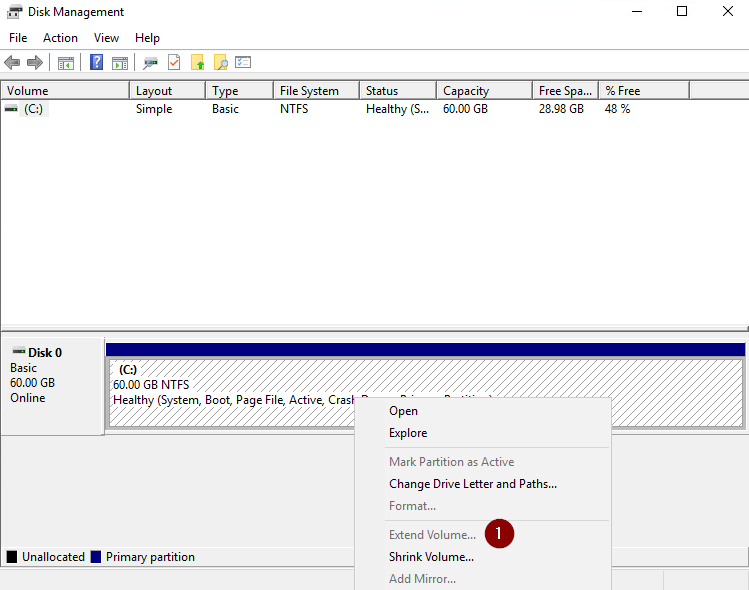
Go back into the Windows instance and open Disk Management:

You should see a newly unallocated partition. Right click on Disk 0 and select ‘Extend’:
You now have enough storage to install the needed plugins.
Install Firefox
In order to download Nessus, we will need to install a web browser that is compatible with modern websites. The Internet Explorer installed is not supported by Tenable’s website.
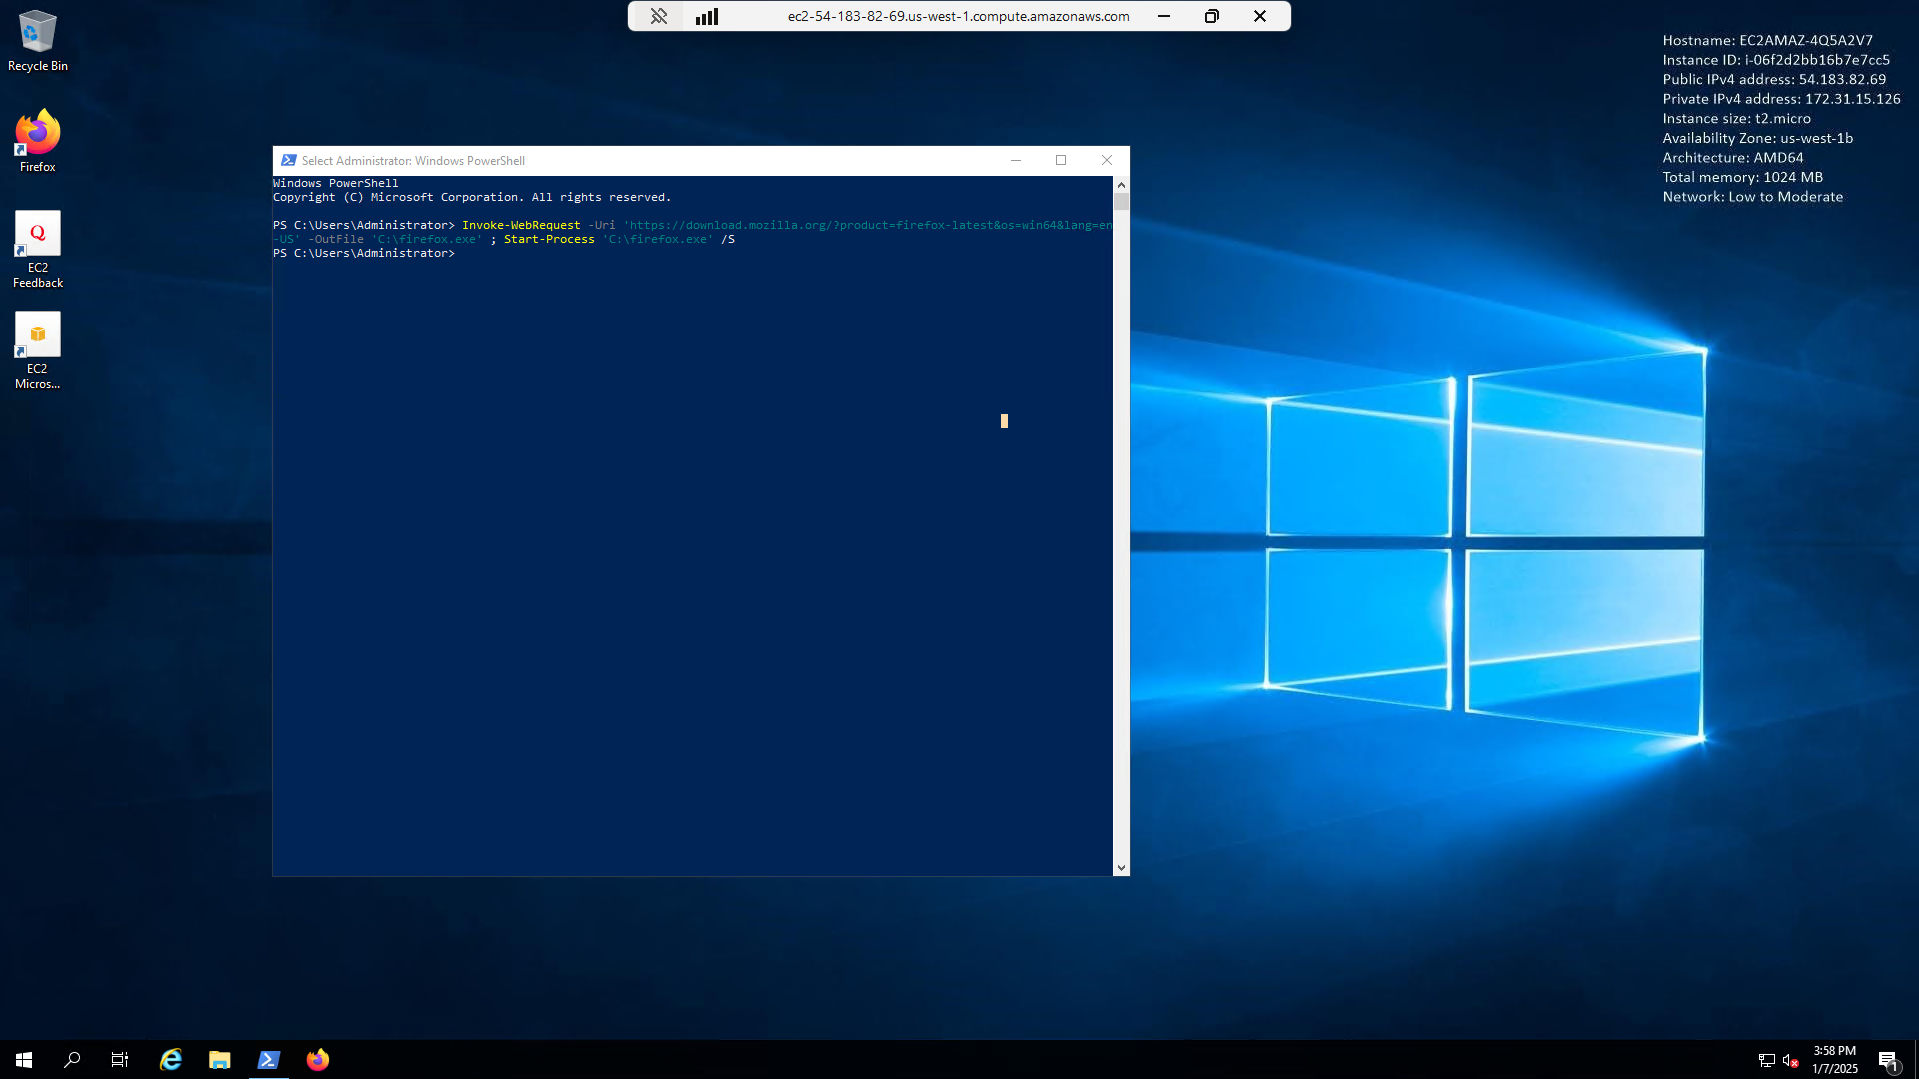
Open PowerShell or CMD and run:
Invoke-WebRequest -Uri 'https://download.mozilla.org/?product=firefox-latest&os=win64&lang=en-US' -OutFile 'C:\firefox.exe' ; Start-Process 'C:\firefox.exe' /S
This will install Firefox on the instance:
Now that we have a supported browser, we can proceed to the next step.
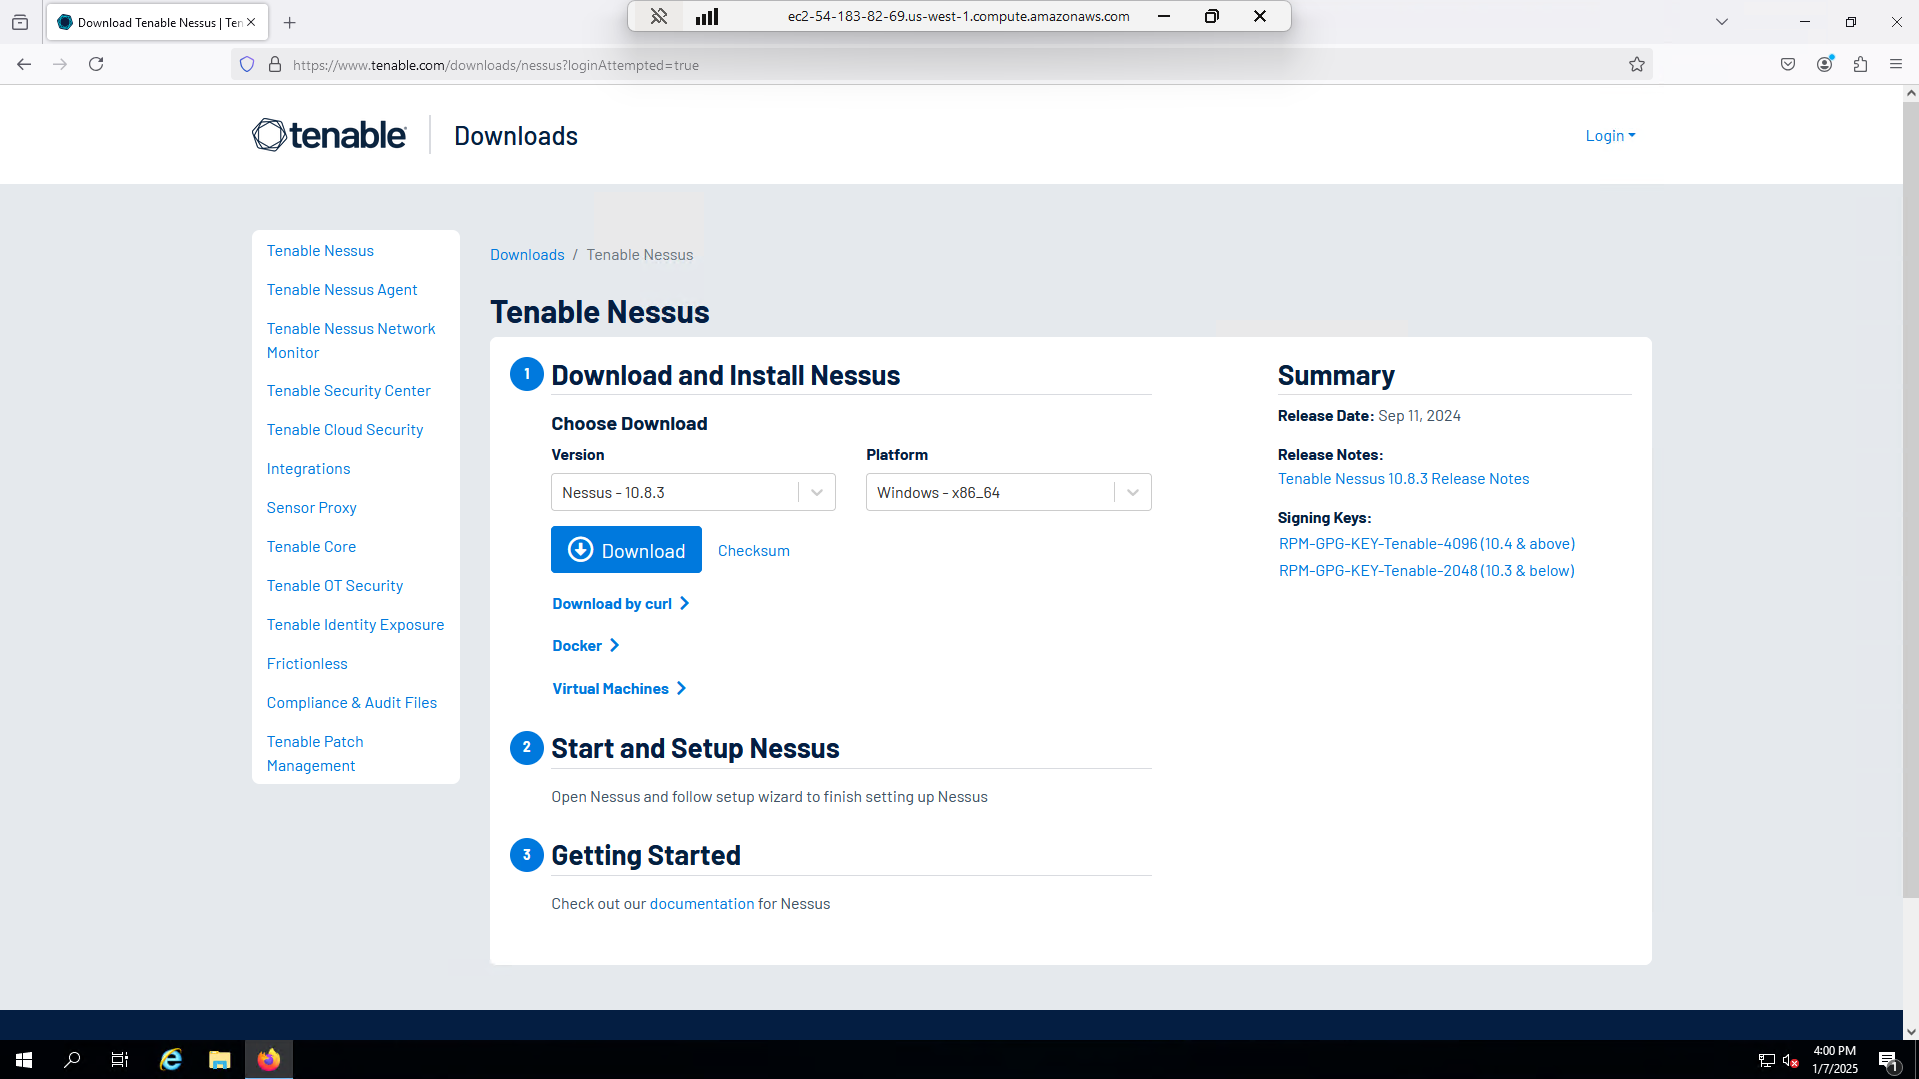
Install Tenable Nessus in the Windows instance
In the Windows Instance, navigate to the Nessus download site and run the .exe file:
https://www.tenable.com/downloads/nessus?loginAttempted=true
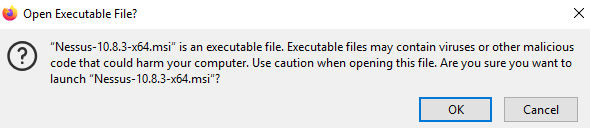
Select ‘Ok’:
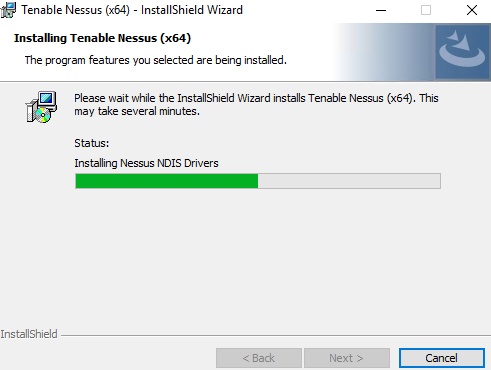
Go through the install wizard and agree to the terms and conditions:
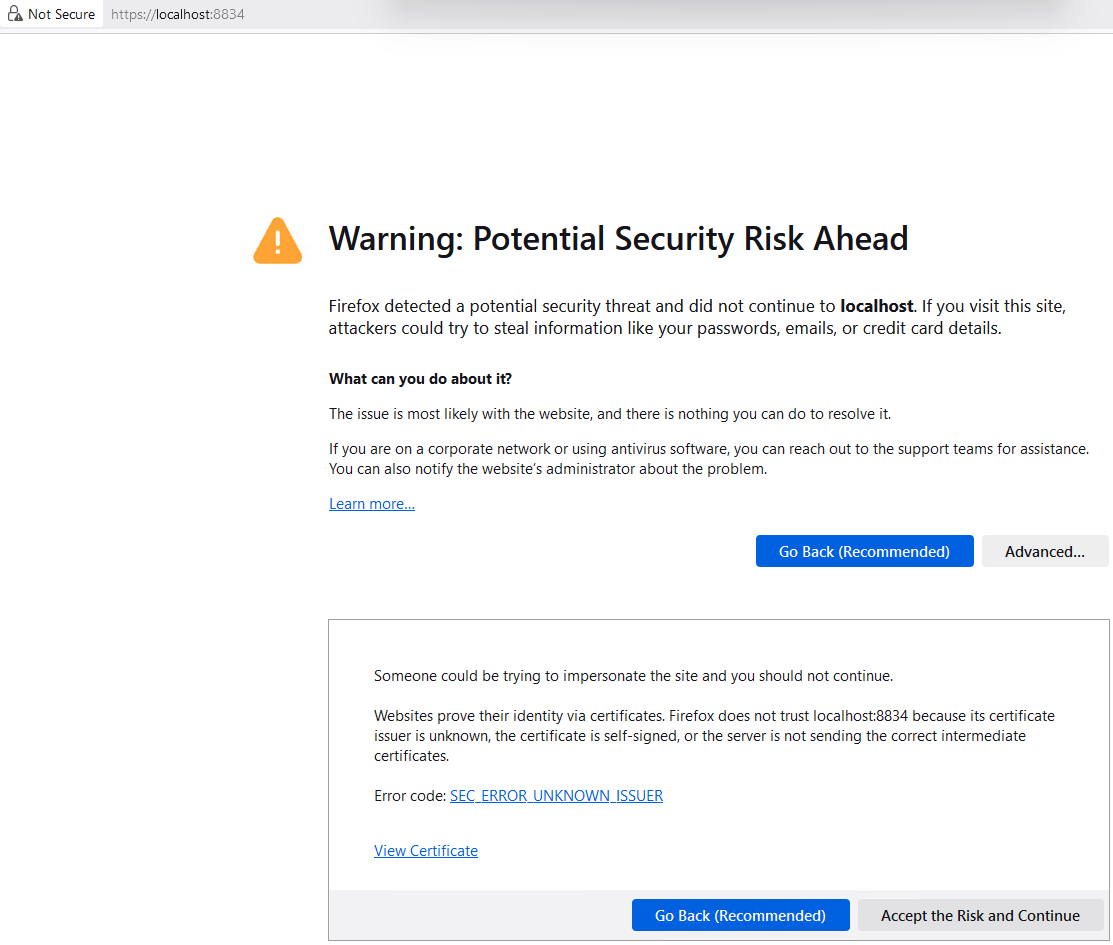
Once the wizard is finished, in Firefox, go to https://localhost:8834. Accept the risk and continue:
Tenable Nessus welcome page will pop up:
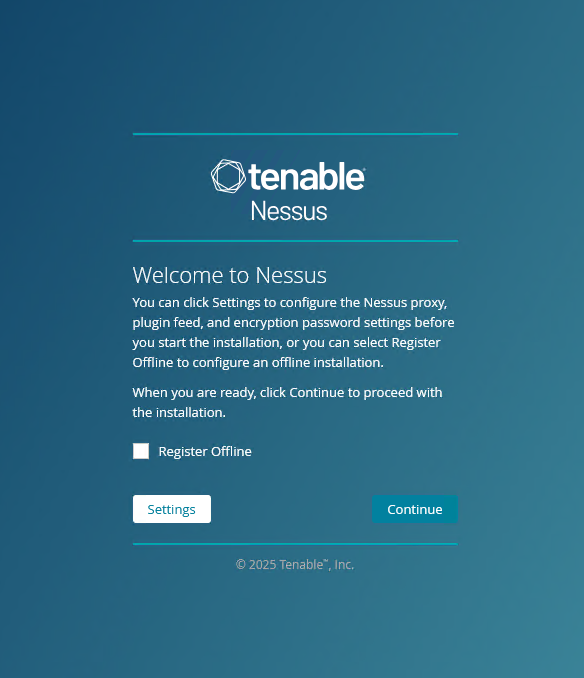
Register for the Nessus Essentials, it will ask you for your name and business email. Tenable accepts a regular email as well:

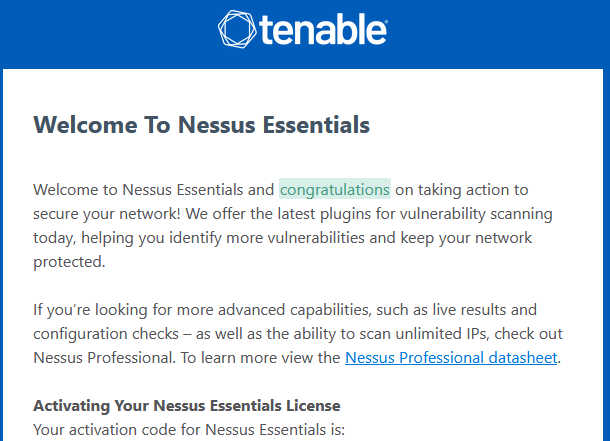
Activate the license you received in your email:
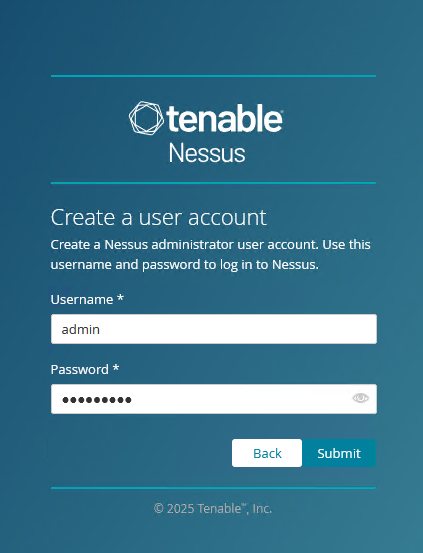
Create a username and password, this is what you will use to login to Nessus:
Allow for Nessus to initialize and download all the necessary files:

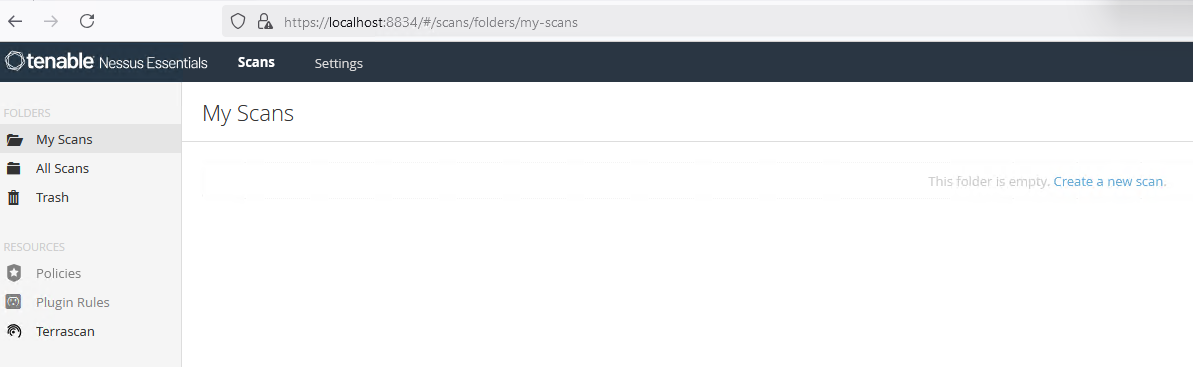
Once we are in the portal, we have successfully installed Nessus:
Note
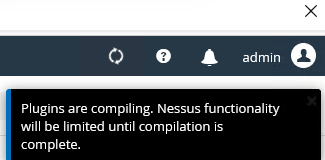
It will take a while for Nessus to download and compile all the necessary plugins.
Create Target Machines
Now that we have Nessus ready, we need to create a couple instances so Nessus can scan the network.
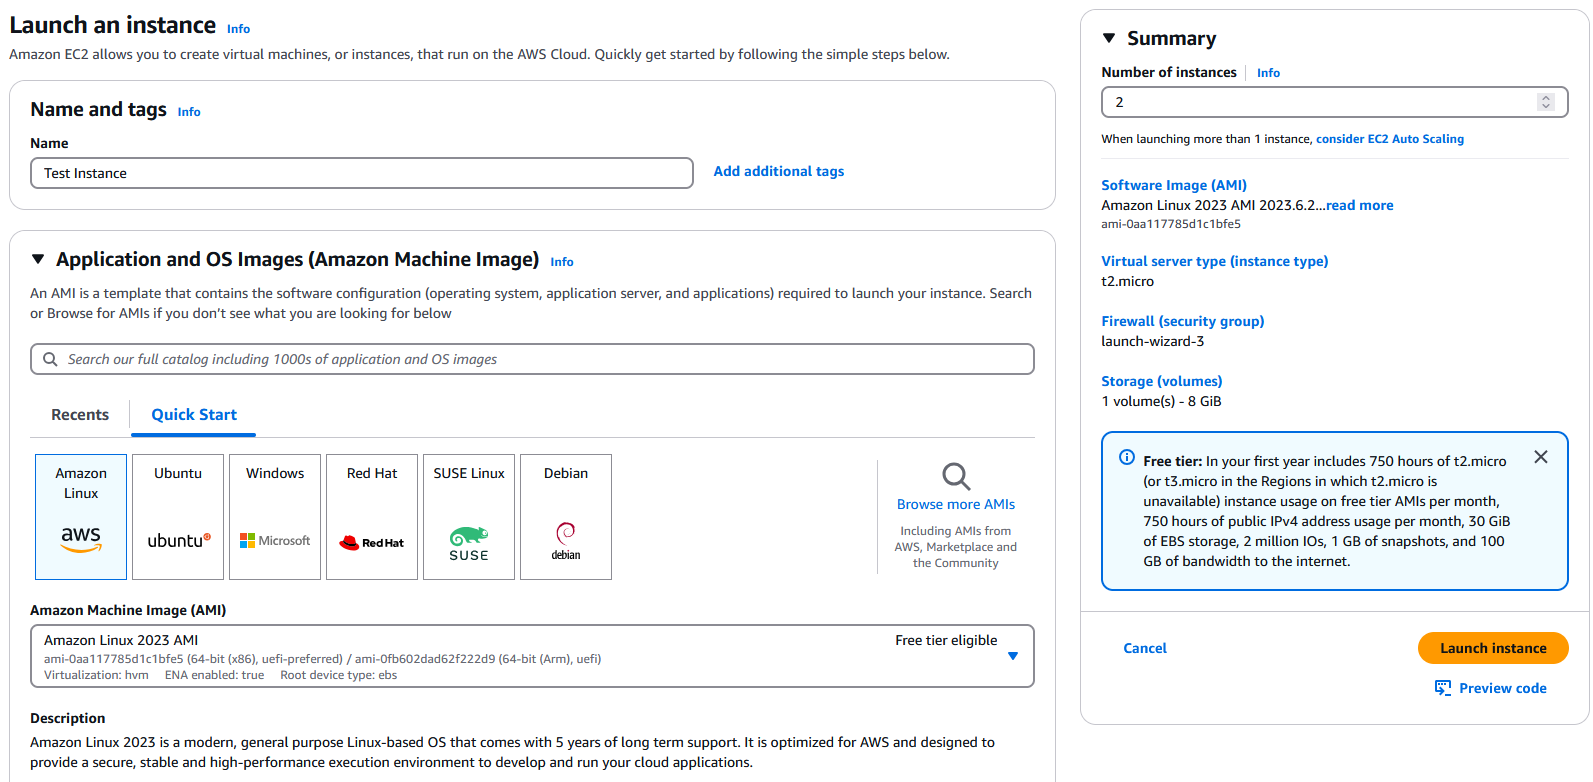
We will create 2 stock instances with the same security group and VPC as the Nessus instance:
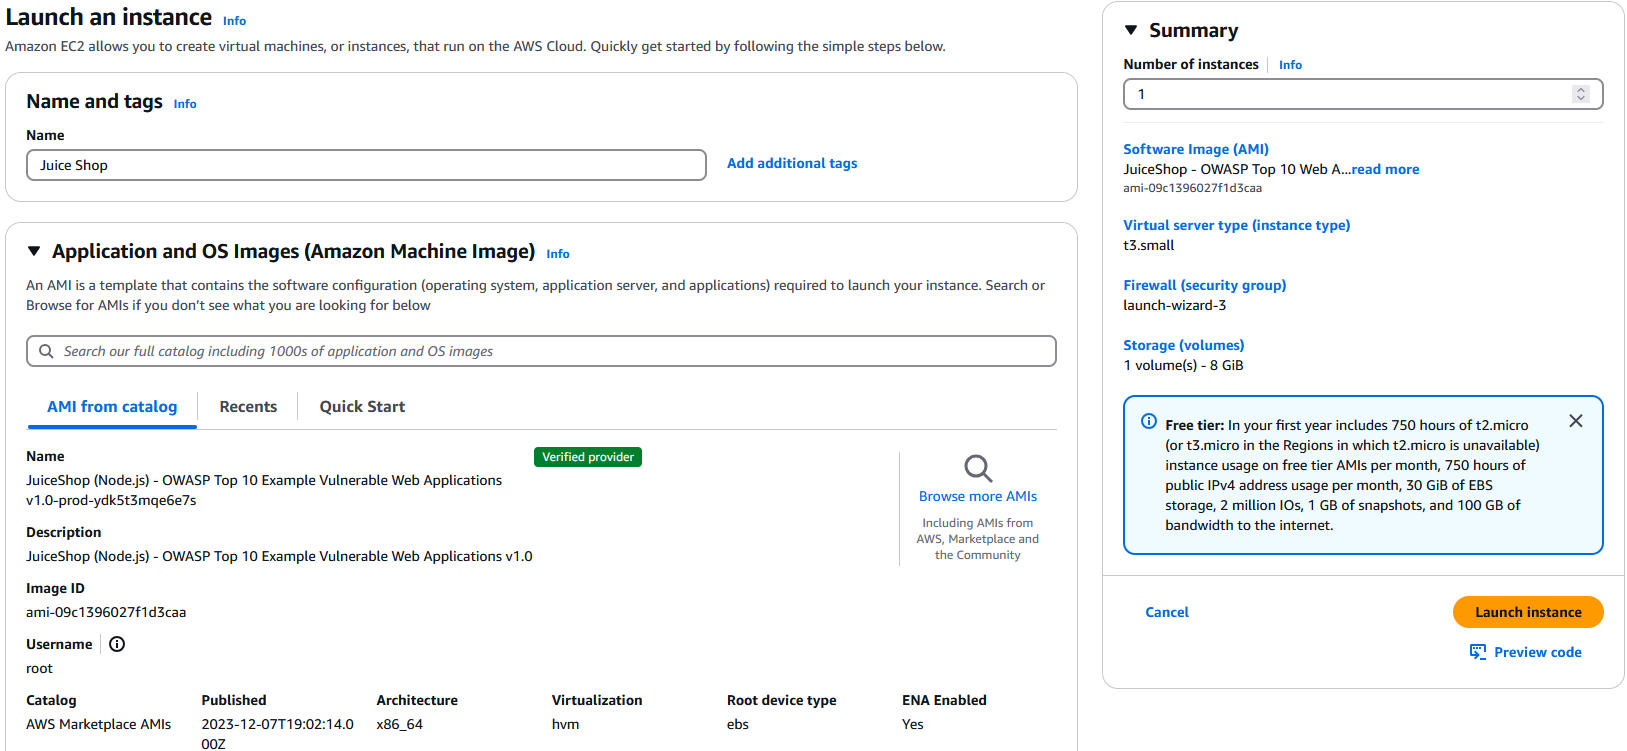
We will also search for ‘OWASP Juice Shop’, this AMI is purpose built to have vulnerabilities:
Edit Security Group
In order to connect to the Linux based instances, add port 22 to allow SSH in the Security Group:
Optional Connect to the Linux Instances
From the EC2 tab, click on the instance and select ‘Connect’:

We will connect to the instance using EC2 Instance Connect, keep everything default and select ‘Connect’:

Network Scanning
Select ‘New Folder’ and give it a name:

Select ‘Create a new scan’:

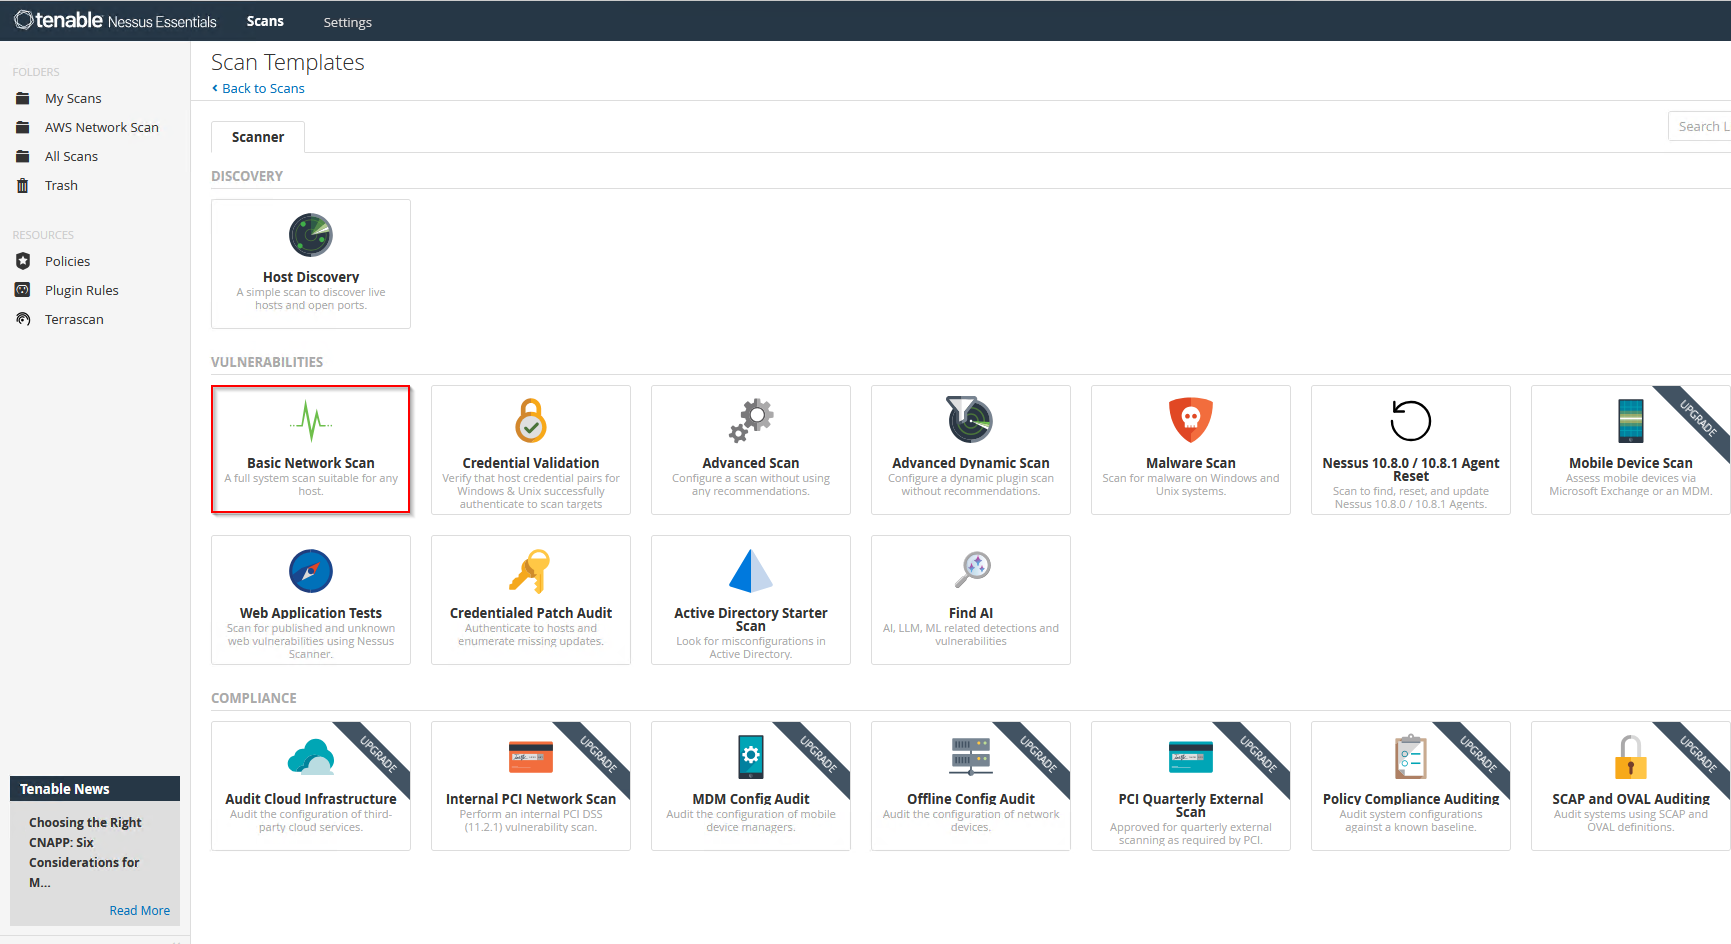
Basic Network Scanning
Scan stock Linux AMI
Select ‘Basic Network Scan’:
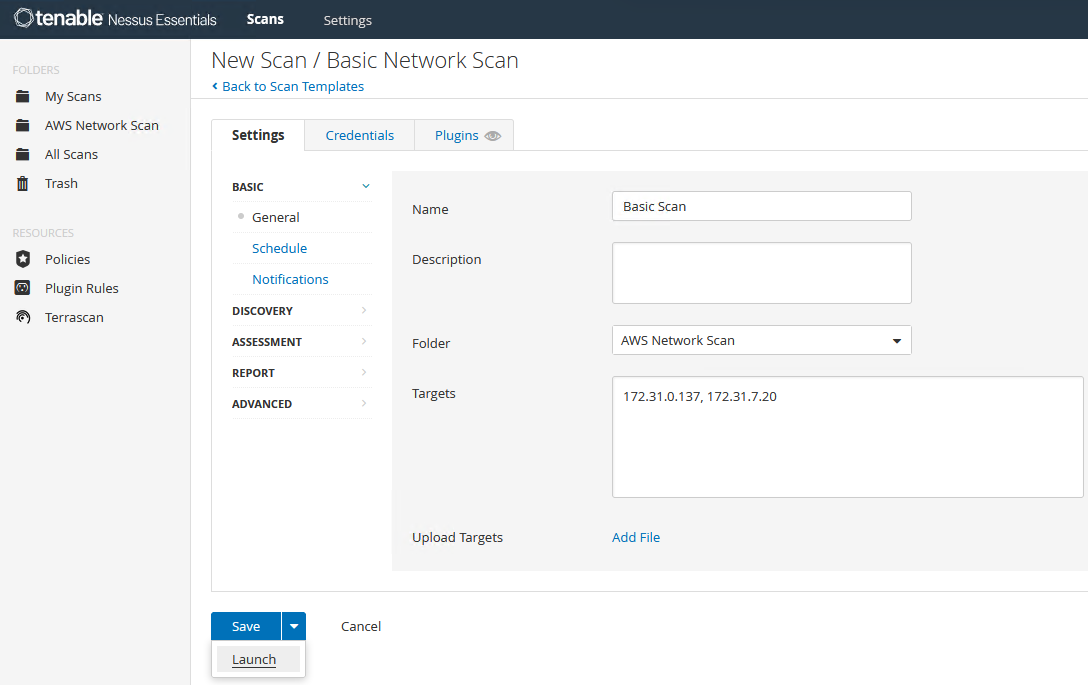
Give the scan a name as well as the targets. Paste the private IP addresses of the two stock instances we created. Select ‘Launch’:
The scan will take a while but once it is done we can see the results:
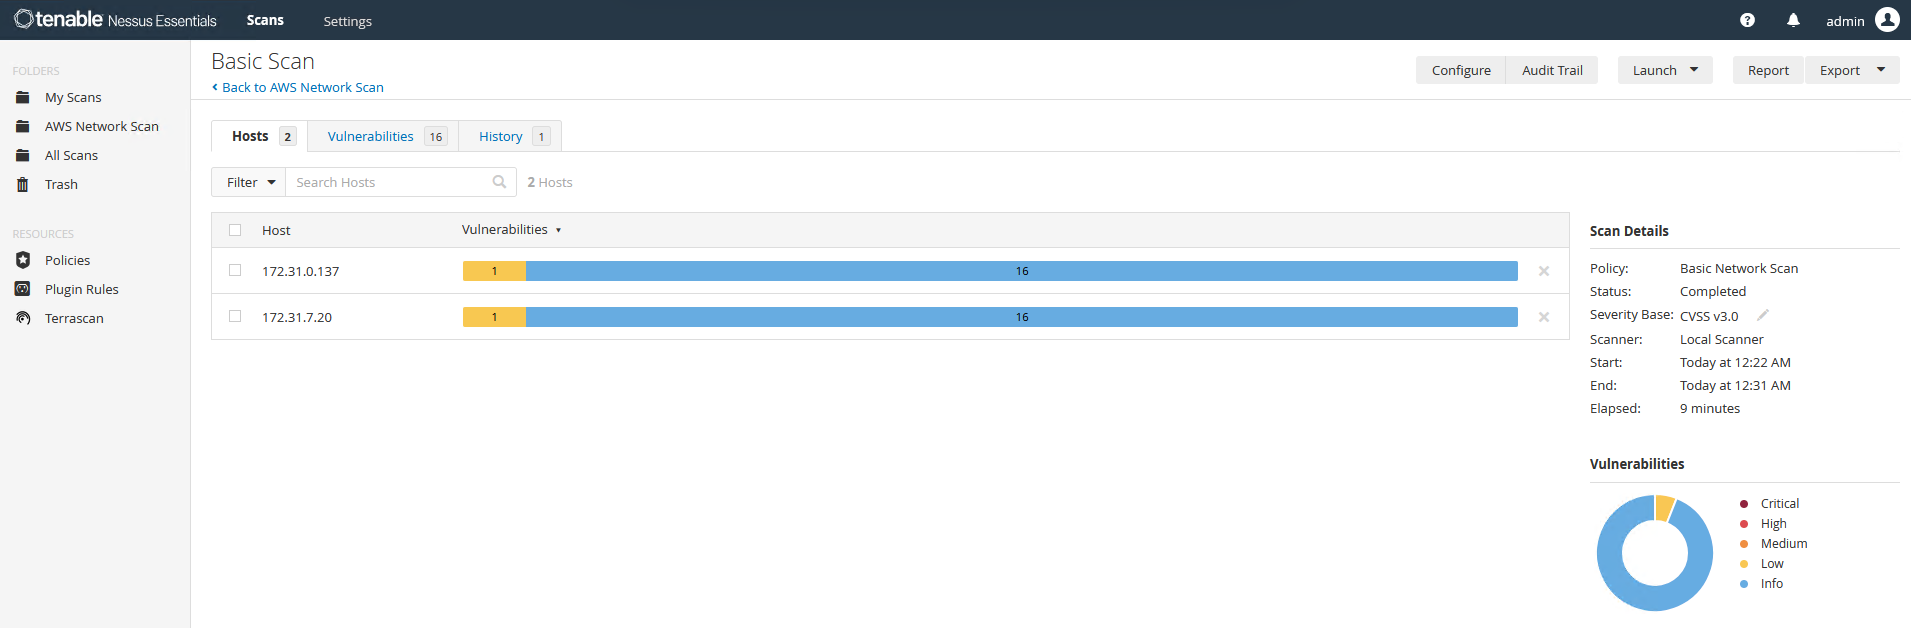
Since these are stock AMIs, there are not that many vulnerabilities found on the target machines.
Scan OWASP Juice Shop
We will now scan the OWASP Juice Shop.
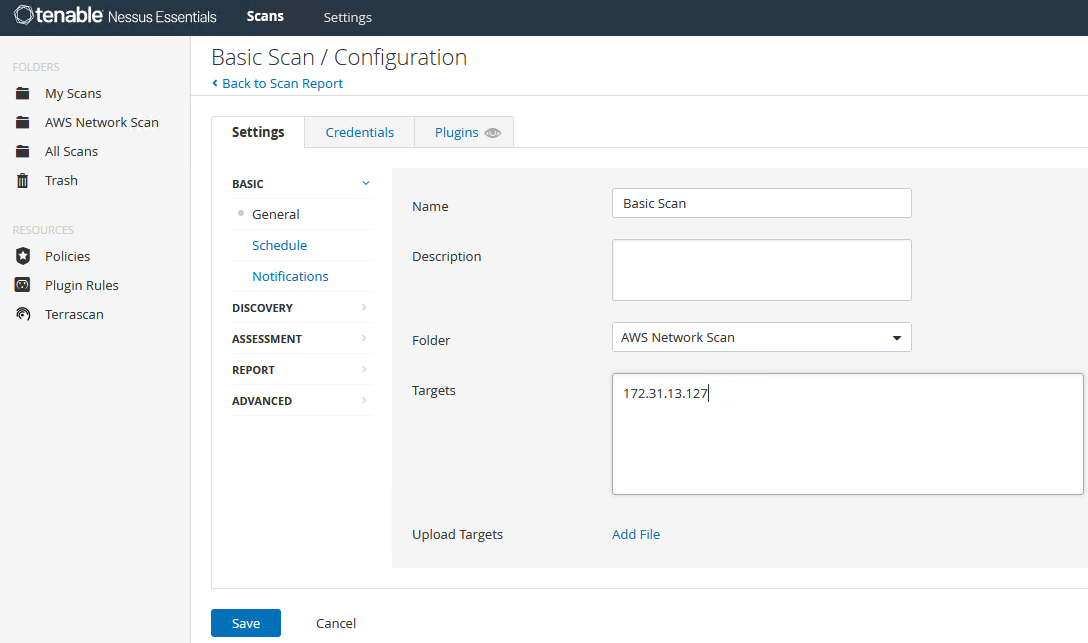
Enter the private IP of the Juice Shop image:
Credentialed Scan
Findings
Remediation
Automating the Lab
Conclusion
Footnotes
Footnotes
-
I found a couple issues with the Windows instance during the Nessus install was due to the lack of storage on the free tier. Went back and added the increase storage portion to prevent any problems for anyone doing a follow along. ↩