This post will cover how to create a static web app using Quartz using GitHub Action and Pages. This setup will allow you to write and quickly publish your blogs and projects using Markdown files.
0. (PreReq) Create a Github Account
Note, a Github Account can only host a single webpage using Github Pages. If you already have an account without Pages enabled, skip this step. Navigate to the Github website and create a free account using your preferred email.
1. Clone the Quartz Repository Locally
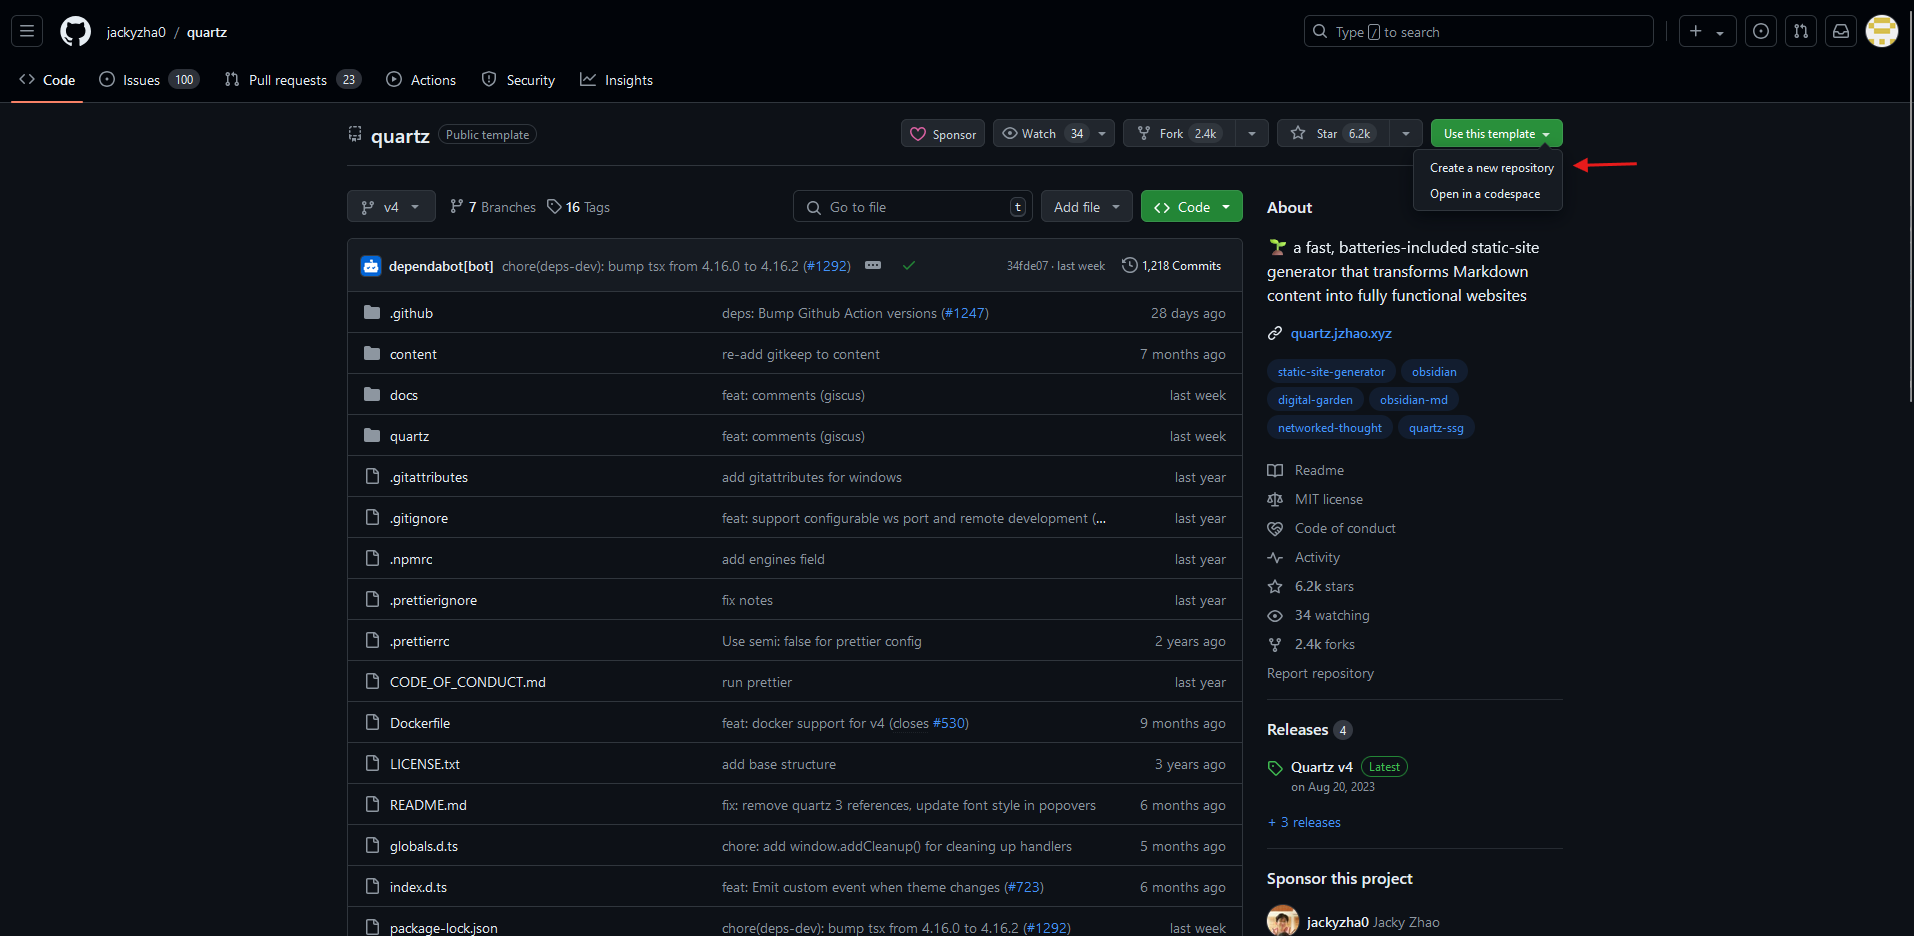
Navigate to Jacky Zhao’s Quartz repository using this link https://github.com/jackyzha0/quartz
Click on the ‘Use this template’ button and select ‘Create a new repository’:
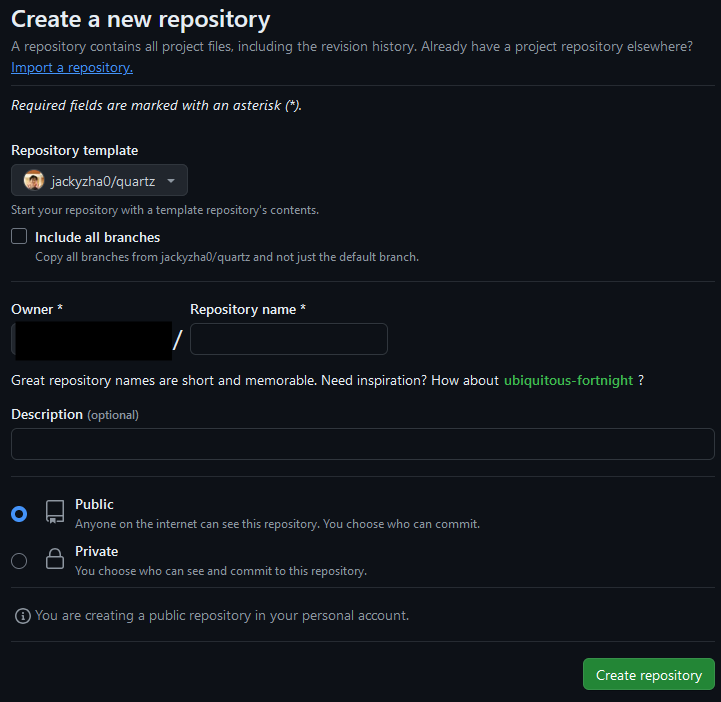
Name the repository to the domain name you purchased for the site. For example, if you purchased ‘freedom.com’ then enter that as the repo name. Select ‘Public’ or ‘Private’ depending on if you want your code to be readable to the public or not:
In your local computer, open CMD and run the command to login to authenticate through Github:
gh auth login
Select HTTPS for the preferred protocol Authenticate Git with your GitHub credentials Authenticate with GitHub CLI through web browser
Enter your one time code to the browser that opened. Navigate to the folder where you want the files to be located at and run the GitHub pull command to pull all the files locally:
git pull [Insert Your Repo Name Here]
You now have successfully integrated your Github repository locally.
2. Build the Application Locally
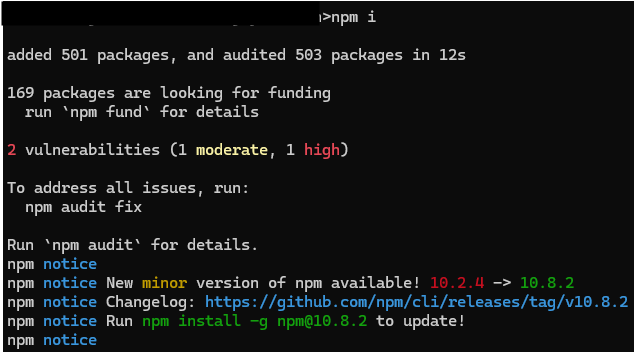
Navigate to where you Initialize the application
npm i:
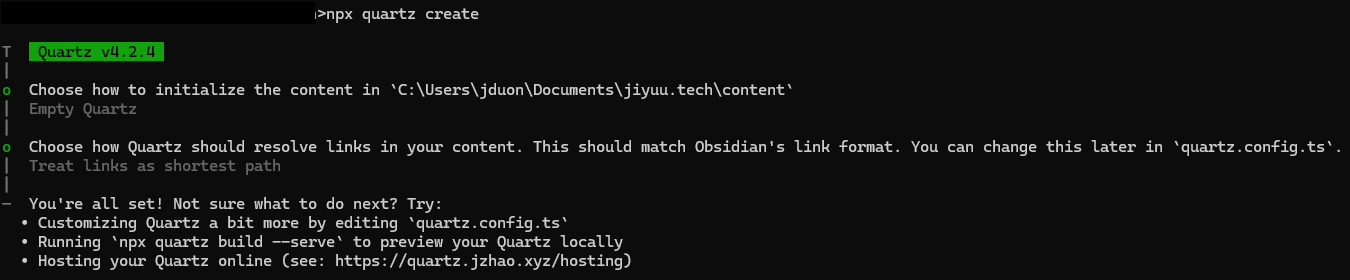
Create the website npx quartz create:
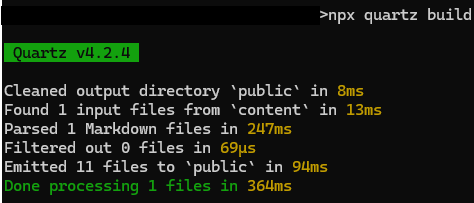
Build the application npx quartz build:
Serve the website locally npx quartz build --serve:
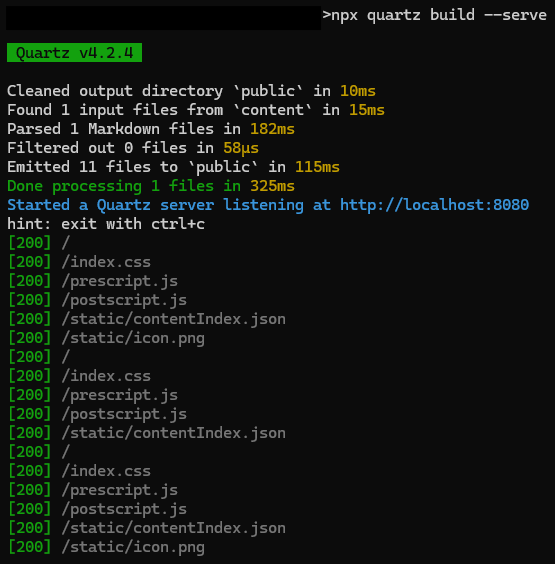
Access the website using a web browser using http://localhost:8080/ and you will see your locally run website appear:

You have successfully generated your static site and served it locally.
3. Create a Static Web App in Azure
This step will go over how to connect Azure to your Github Account and use CI/CD to automatically publish new content when you commit to the repository.
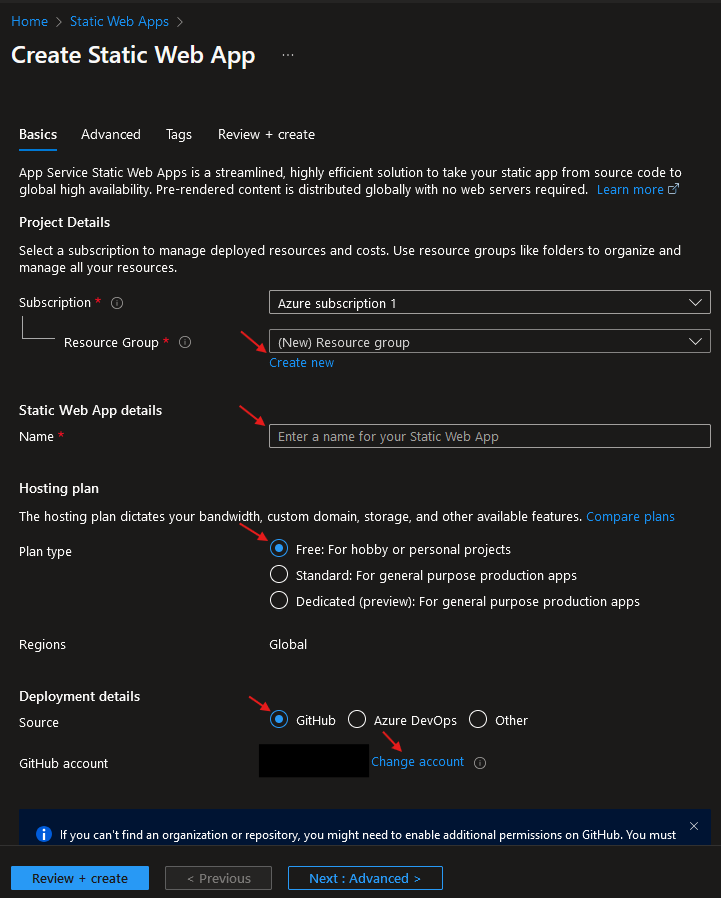
Navigate to the Azure Static Web Apps portal and select the ‘Create’ button:

In this form, choose and fill out the following: Resource group: Create a new resource group for this project Name: Give the static web app a name Hosting plan: Select free Deployment details: Select GitHub and select the ‘change account or add account’ button
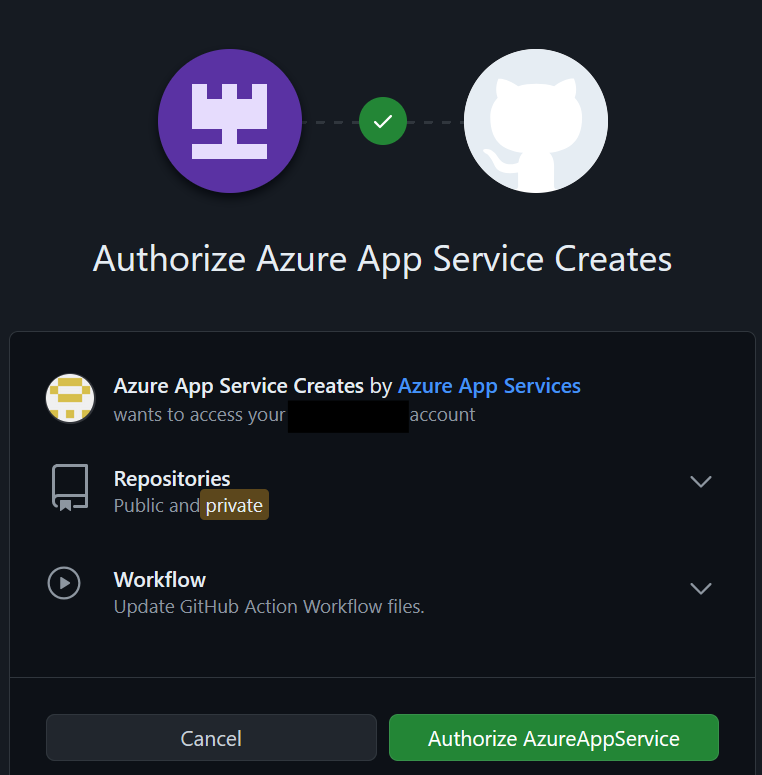
When you select the change account button, you will give permissions to Authorize App Service:
After allowing Azure to connect to your Github, select the Organization, Repo, and Branch you want Azure to deploy. Fill in the build details: Build presets: Custom App location: / API location: leave blank Output location: /dist
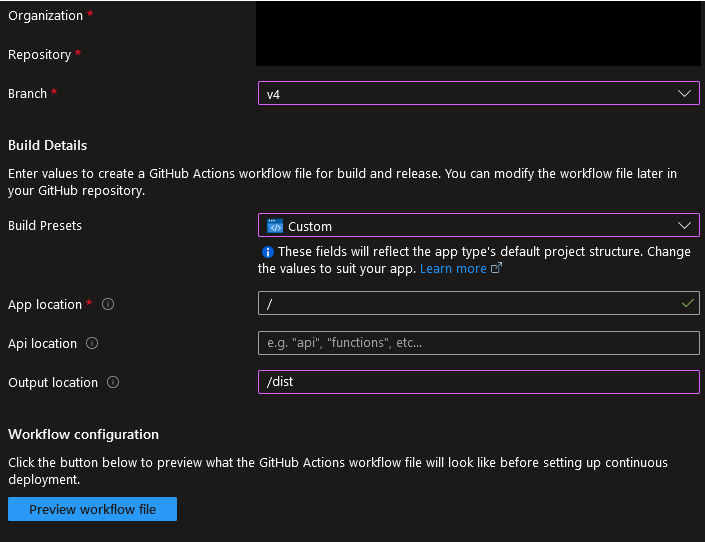 Select create when done GitHub Actions will now run when it detects a change in the repository.