This project will use S3 events that will trigger a lambda. Every time an image is uploaded, it will trigger the Lambda and pixelizes the image.
This lab was taken from Adrian Cantrill’s course: https://github.com/acantril/learn-cantrill-io-labs/tree/master/00-aws-simple-demos/aws-lambda-s3-events
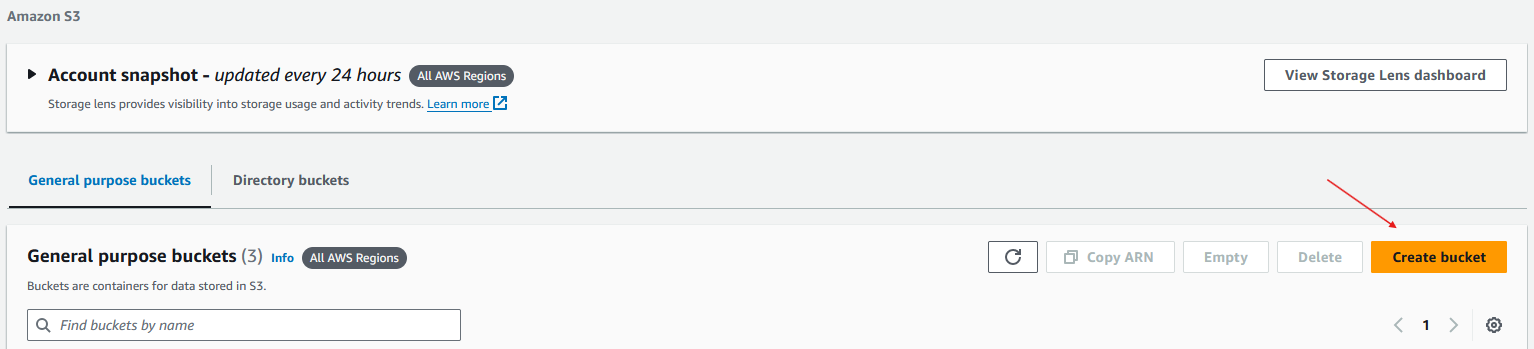
Create the S3 Buckets
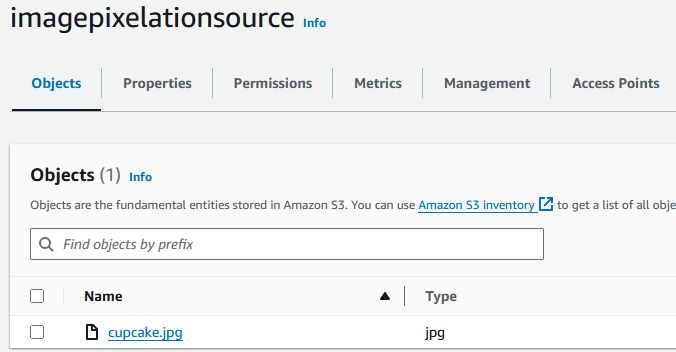
In the S3 portal, click on ‘Create bucket’ we will need to create 2 buckets:
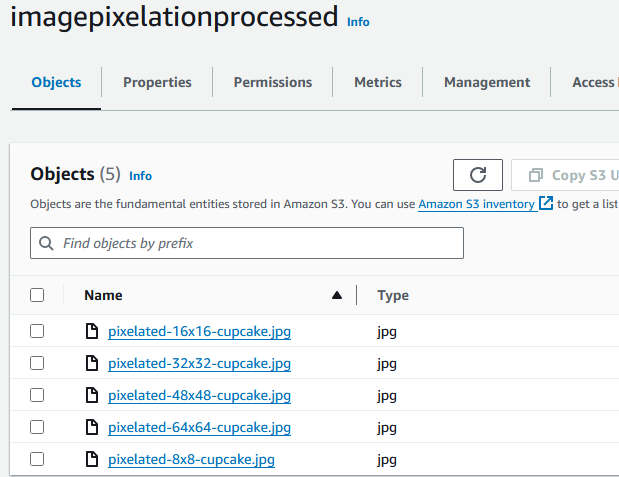
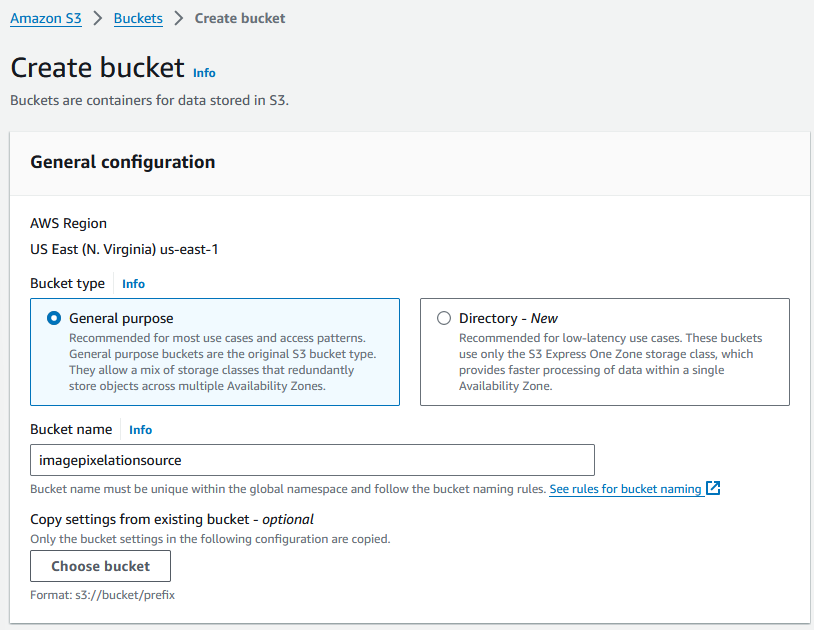
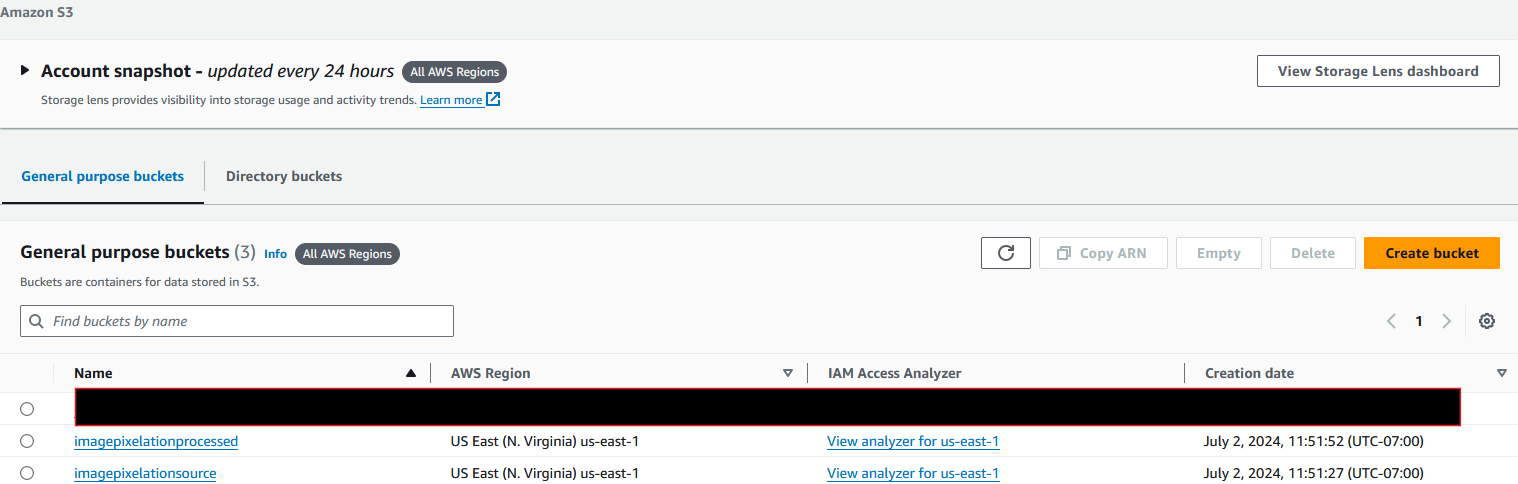
Give it a unique name, I named one ‘imagepixelationsource’ and ‘imagepixelationprocessed’:
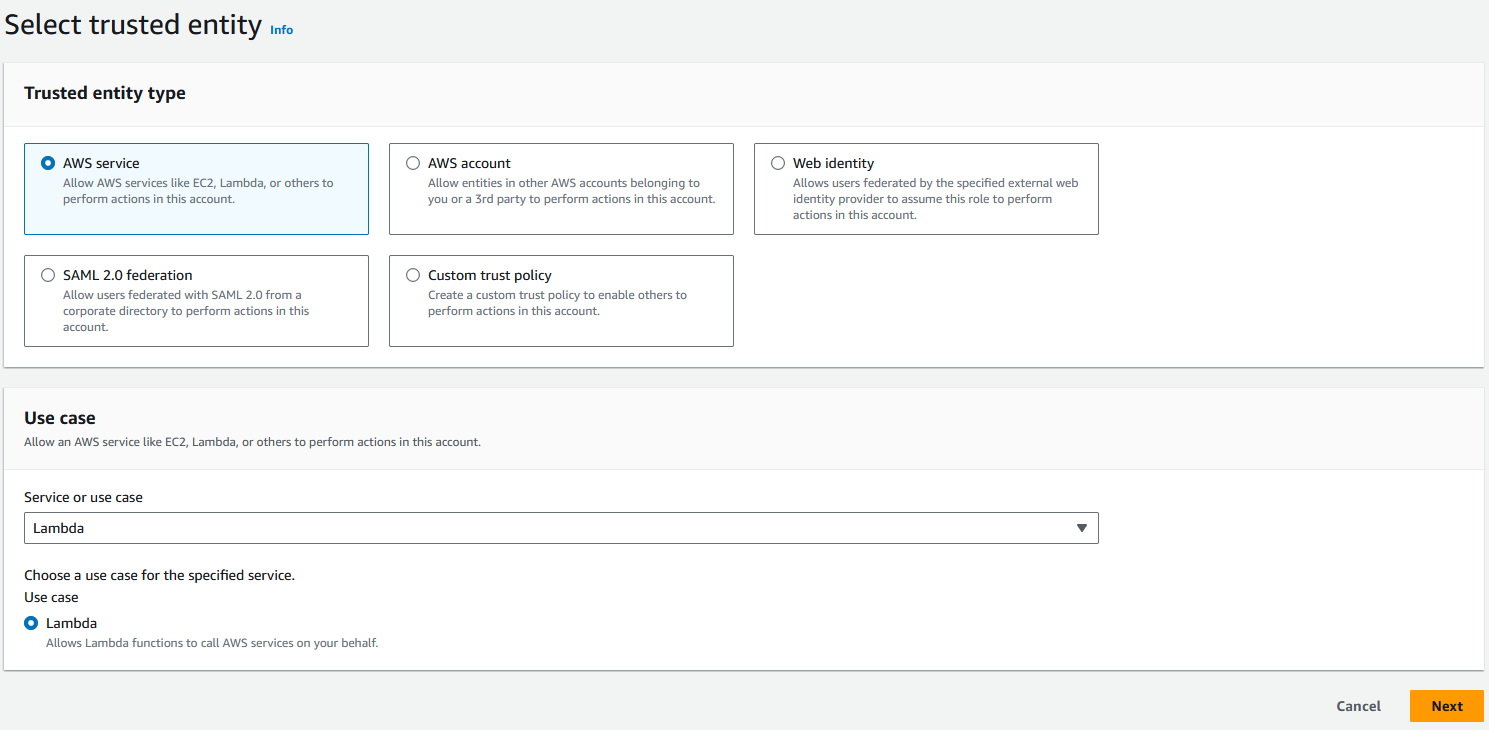
Create the Lambda role
Navigate to IAM and select ‘Roles’, click on ‘Create role’:

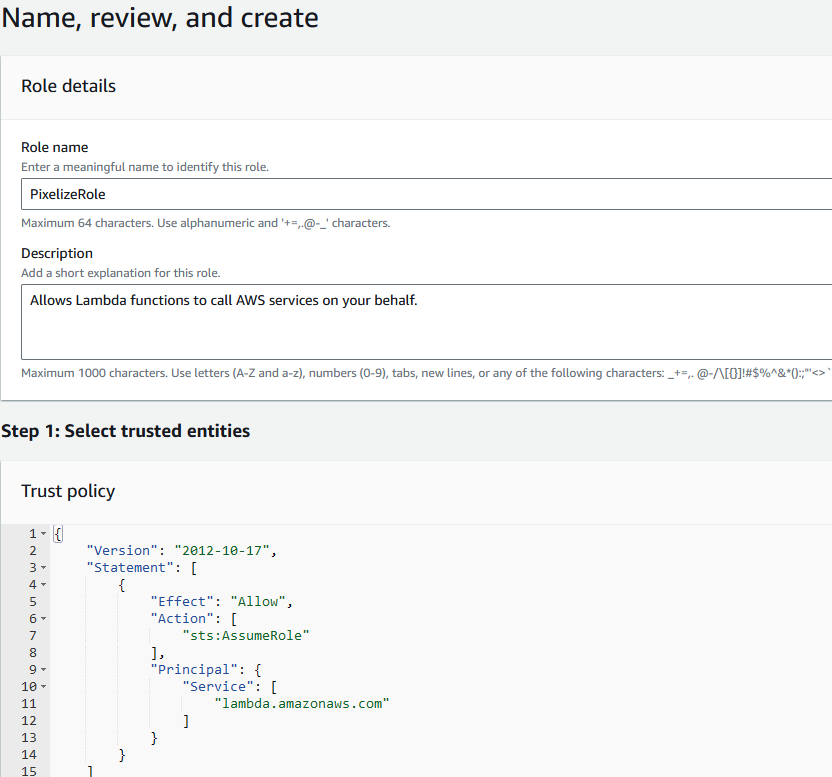
Select ‘AWS service’ and choose Lambda:
Give it a name and select ‘Create role’, we will not be adding any policies yet:
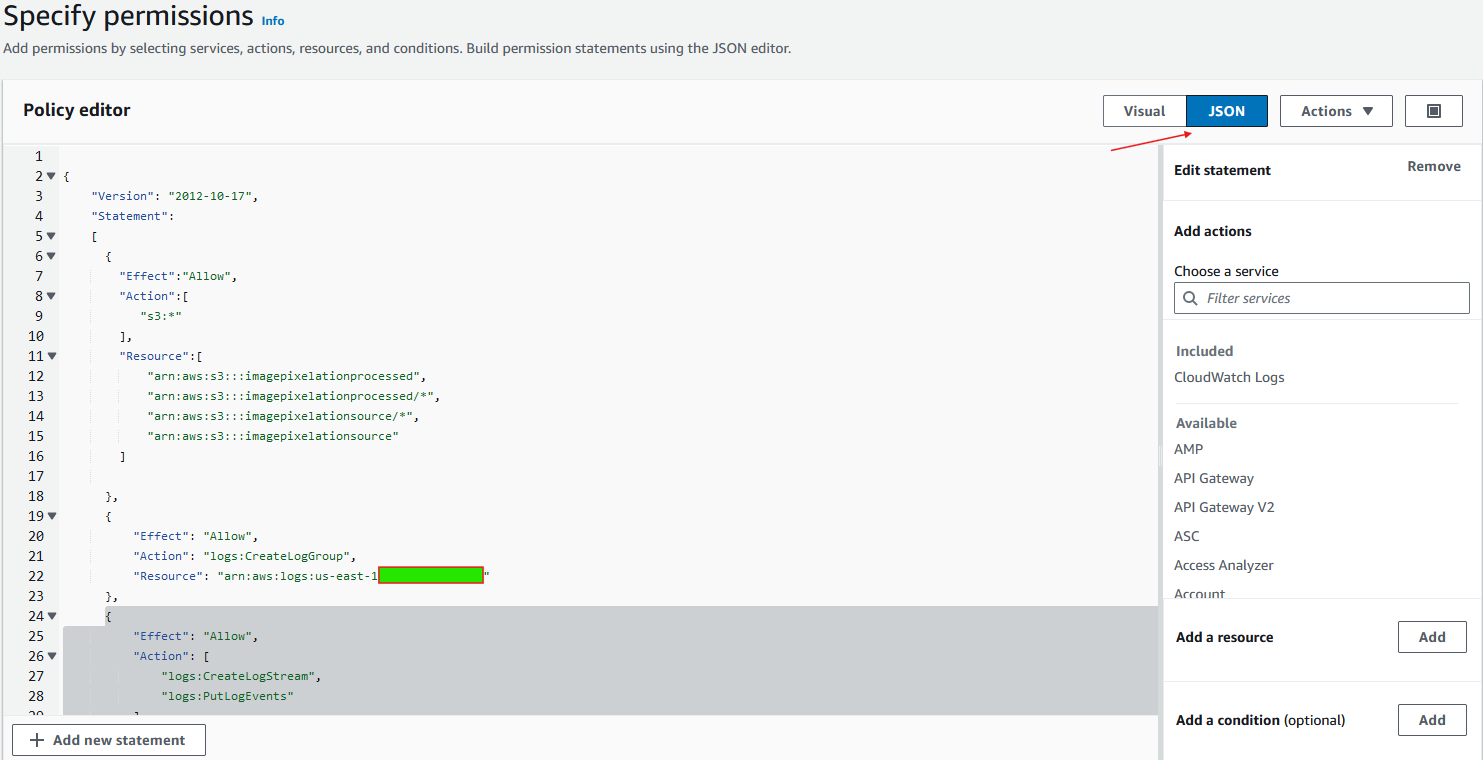
Select the role and select ‘Add permissions’ and ‘Create inline policy’:

Select JSON and paste the JSON copied from https://raw.githubusercontent.com/acantril/learn-cantrill-io-labs/master/00-aws-simple-demos/aws-lambda-s3-events/01_LABSETUP/policy/s3pixelator.json to here. Edit in the bucket names and account ID:
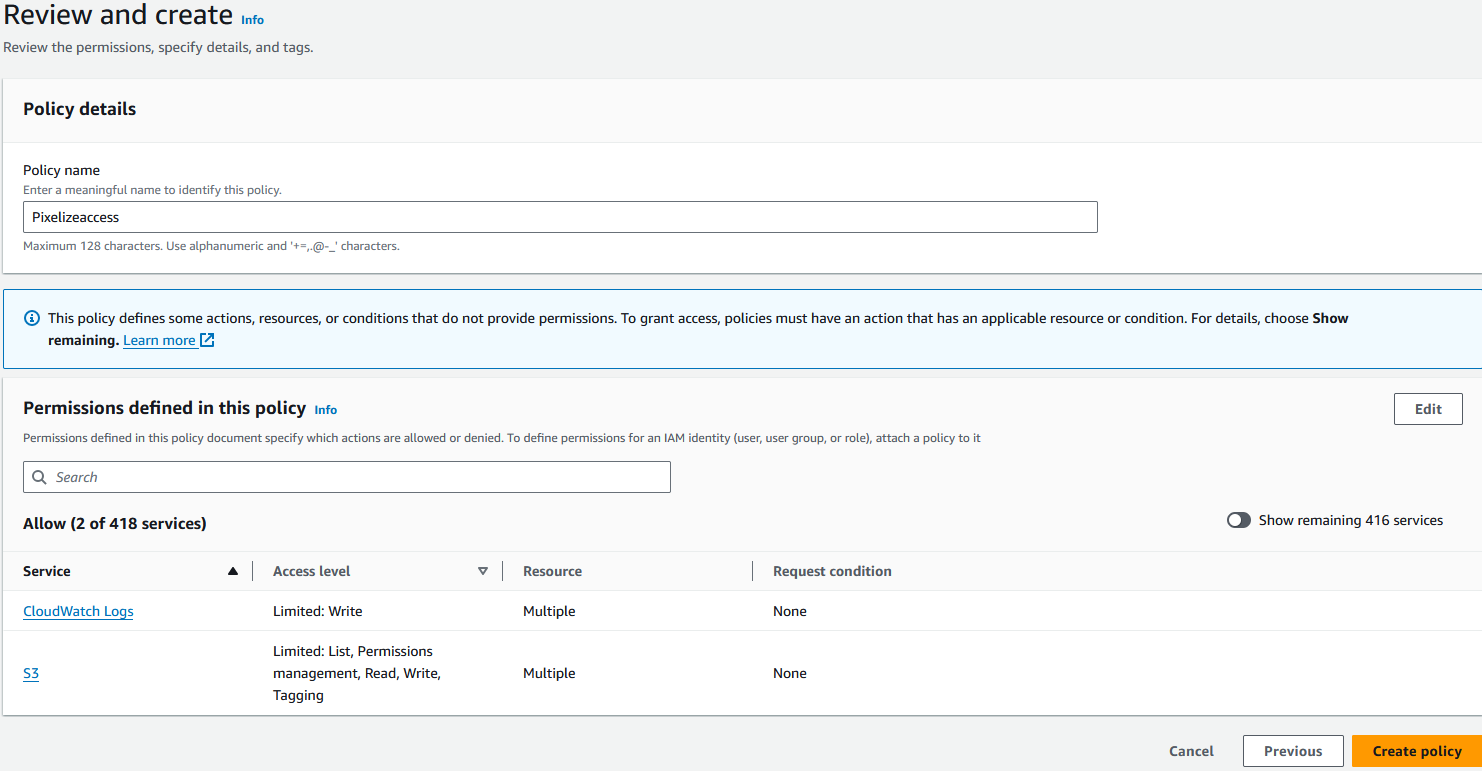
Give the policy a name and click ‘Create policy’:
Create the Lambda Function
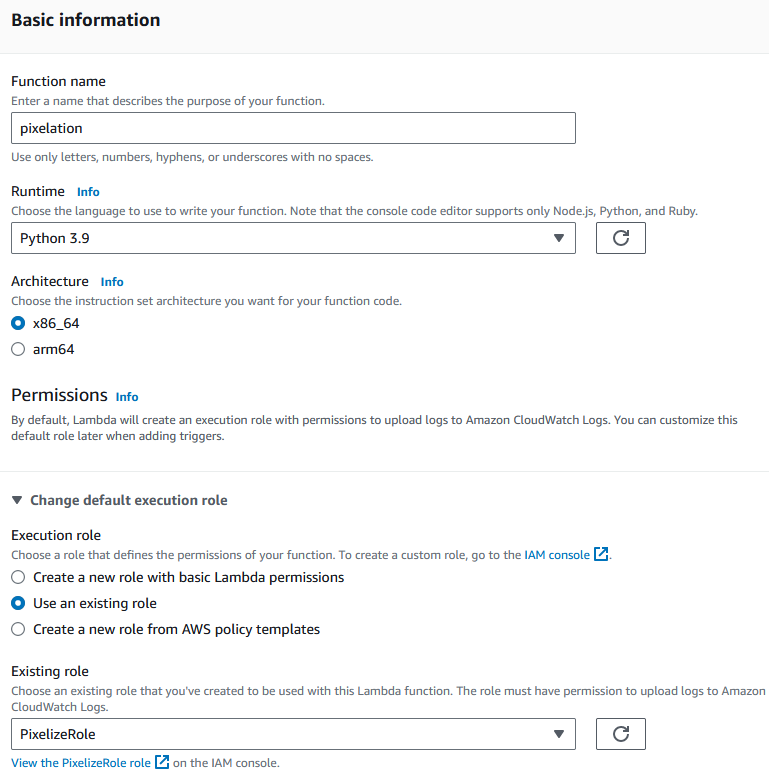
Navigate to the Lambda page and click on ‘Create a function’:

Author from scratch and fill out the required information: Function name Python 3.9 x86_64 Use an existing role (Select the role created in the step above)
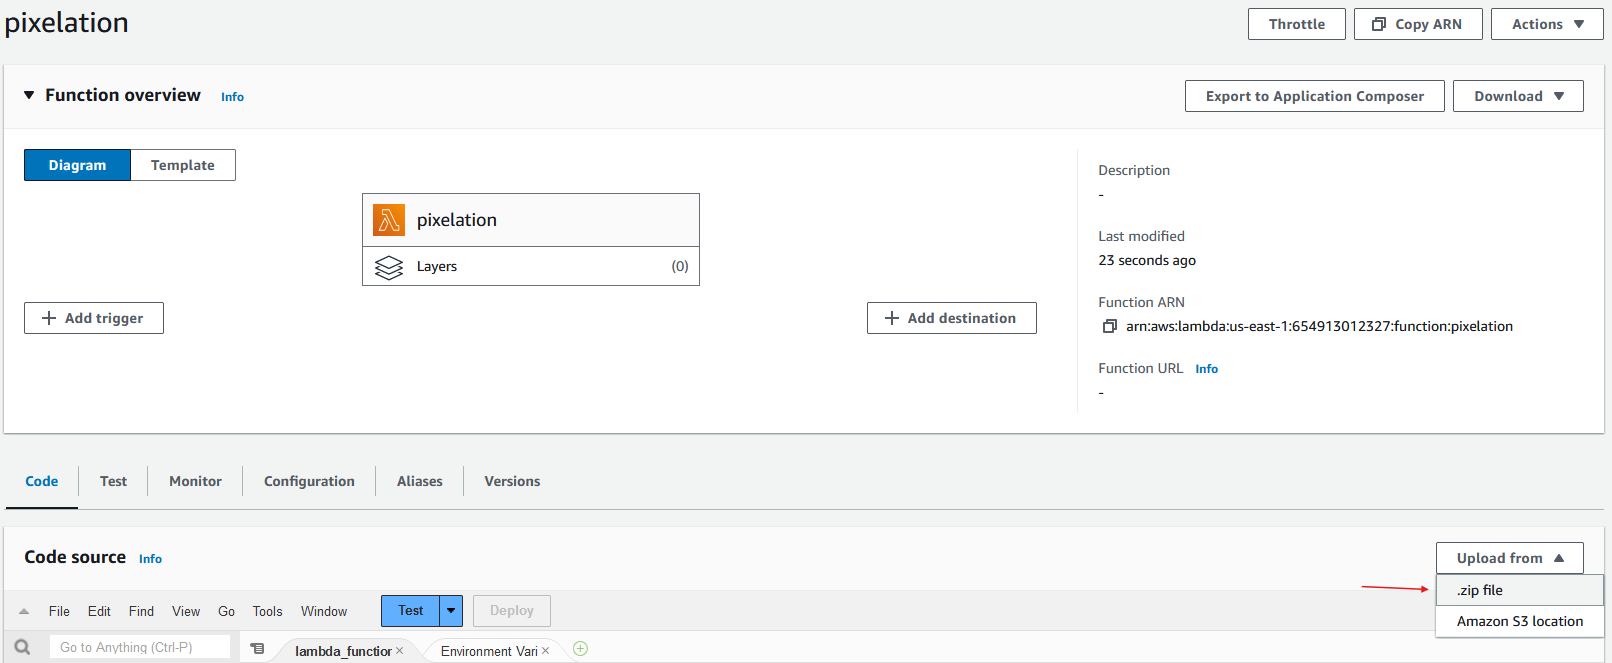
Select the ‘Upload from’ and choose the .zip file. Upload the .zip file from https://github.com/acantril/learn-cantrill-io-labs/blob/master/00-aws-simple-demos/aws-lambda-s3-events/01_LABSETUP/my-deployment-package.zip :
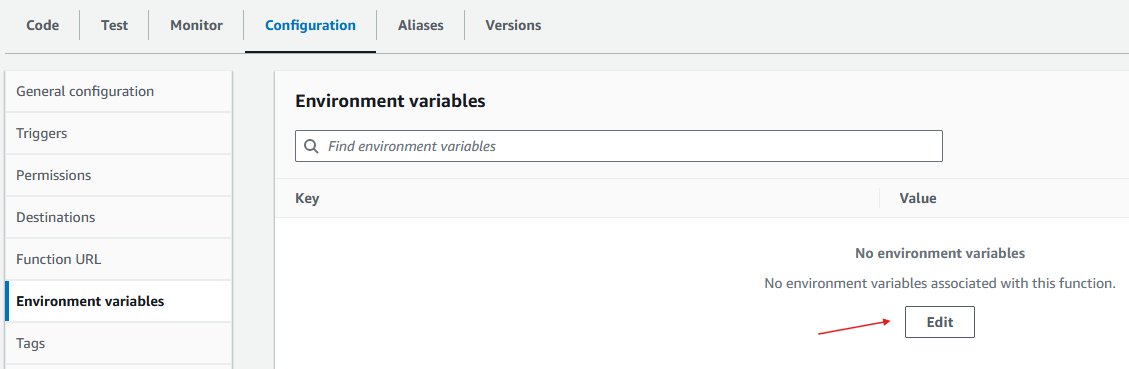
Click on the ‘Configuration’ tab and under ‘Environment Variables’, select ‘Edit’:
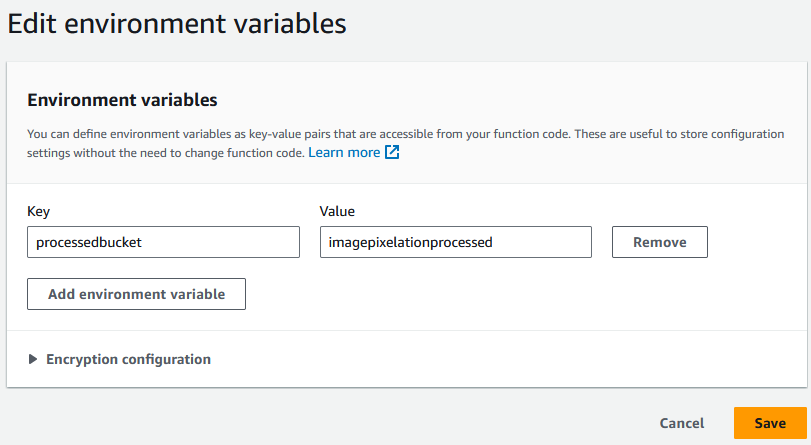
Add the processed bucket key and value and hit ‘Save’:
Under ‘General configuration’, change the timeout to 1 minute:

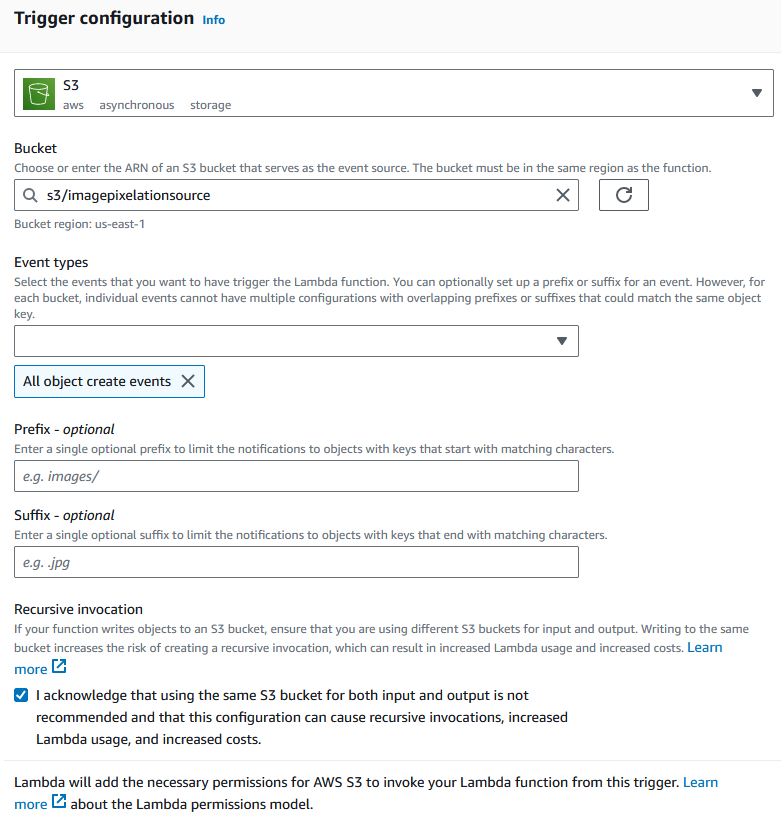
Under the ‘Triggers’ section, add a trigger:
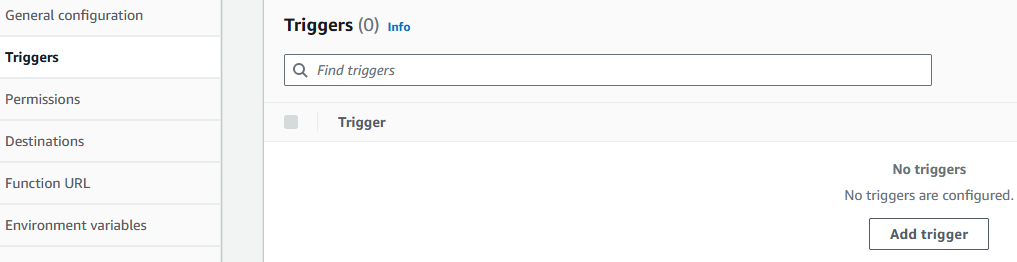
Make sure to select the source bucket or it may cause an exponential look and increase your costs!:
Assembling everything together
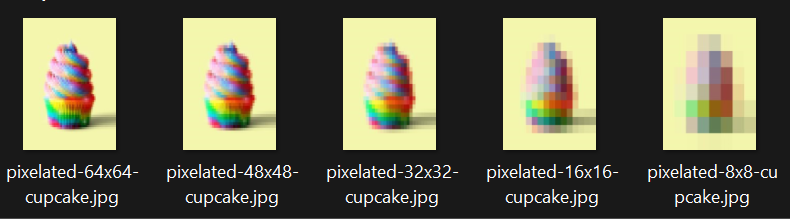
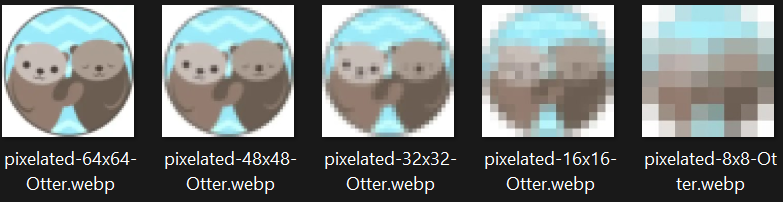
Upload an image into the source bucket and see how the processed bucket will output 5 images with varying degrees of pixelation: